Favourites for Acrylic Pouring
These are products that I use every day in the studio. Click the link to find where to purchase them online. Some of these links are affiliate links, but none of these are paid advertisements, and I only include products that I use and recommend.
If you’re getting started with acrylic pouring, there are many products out there that you can buy, but I recommend buying as little as possible, to reduce waste and save money. Here are some things I’ve found worth investing in.
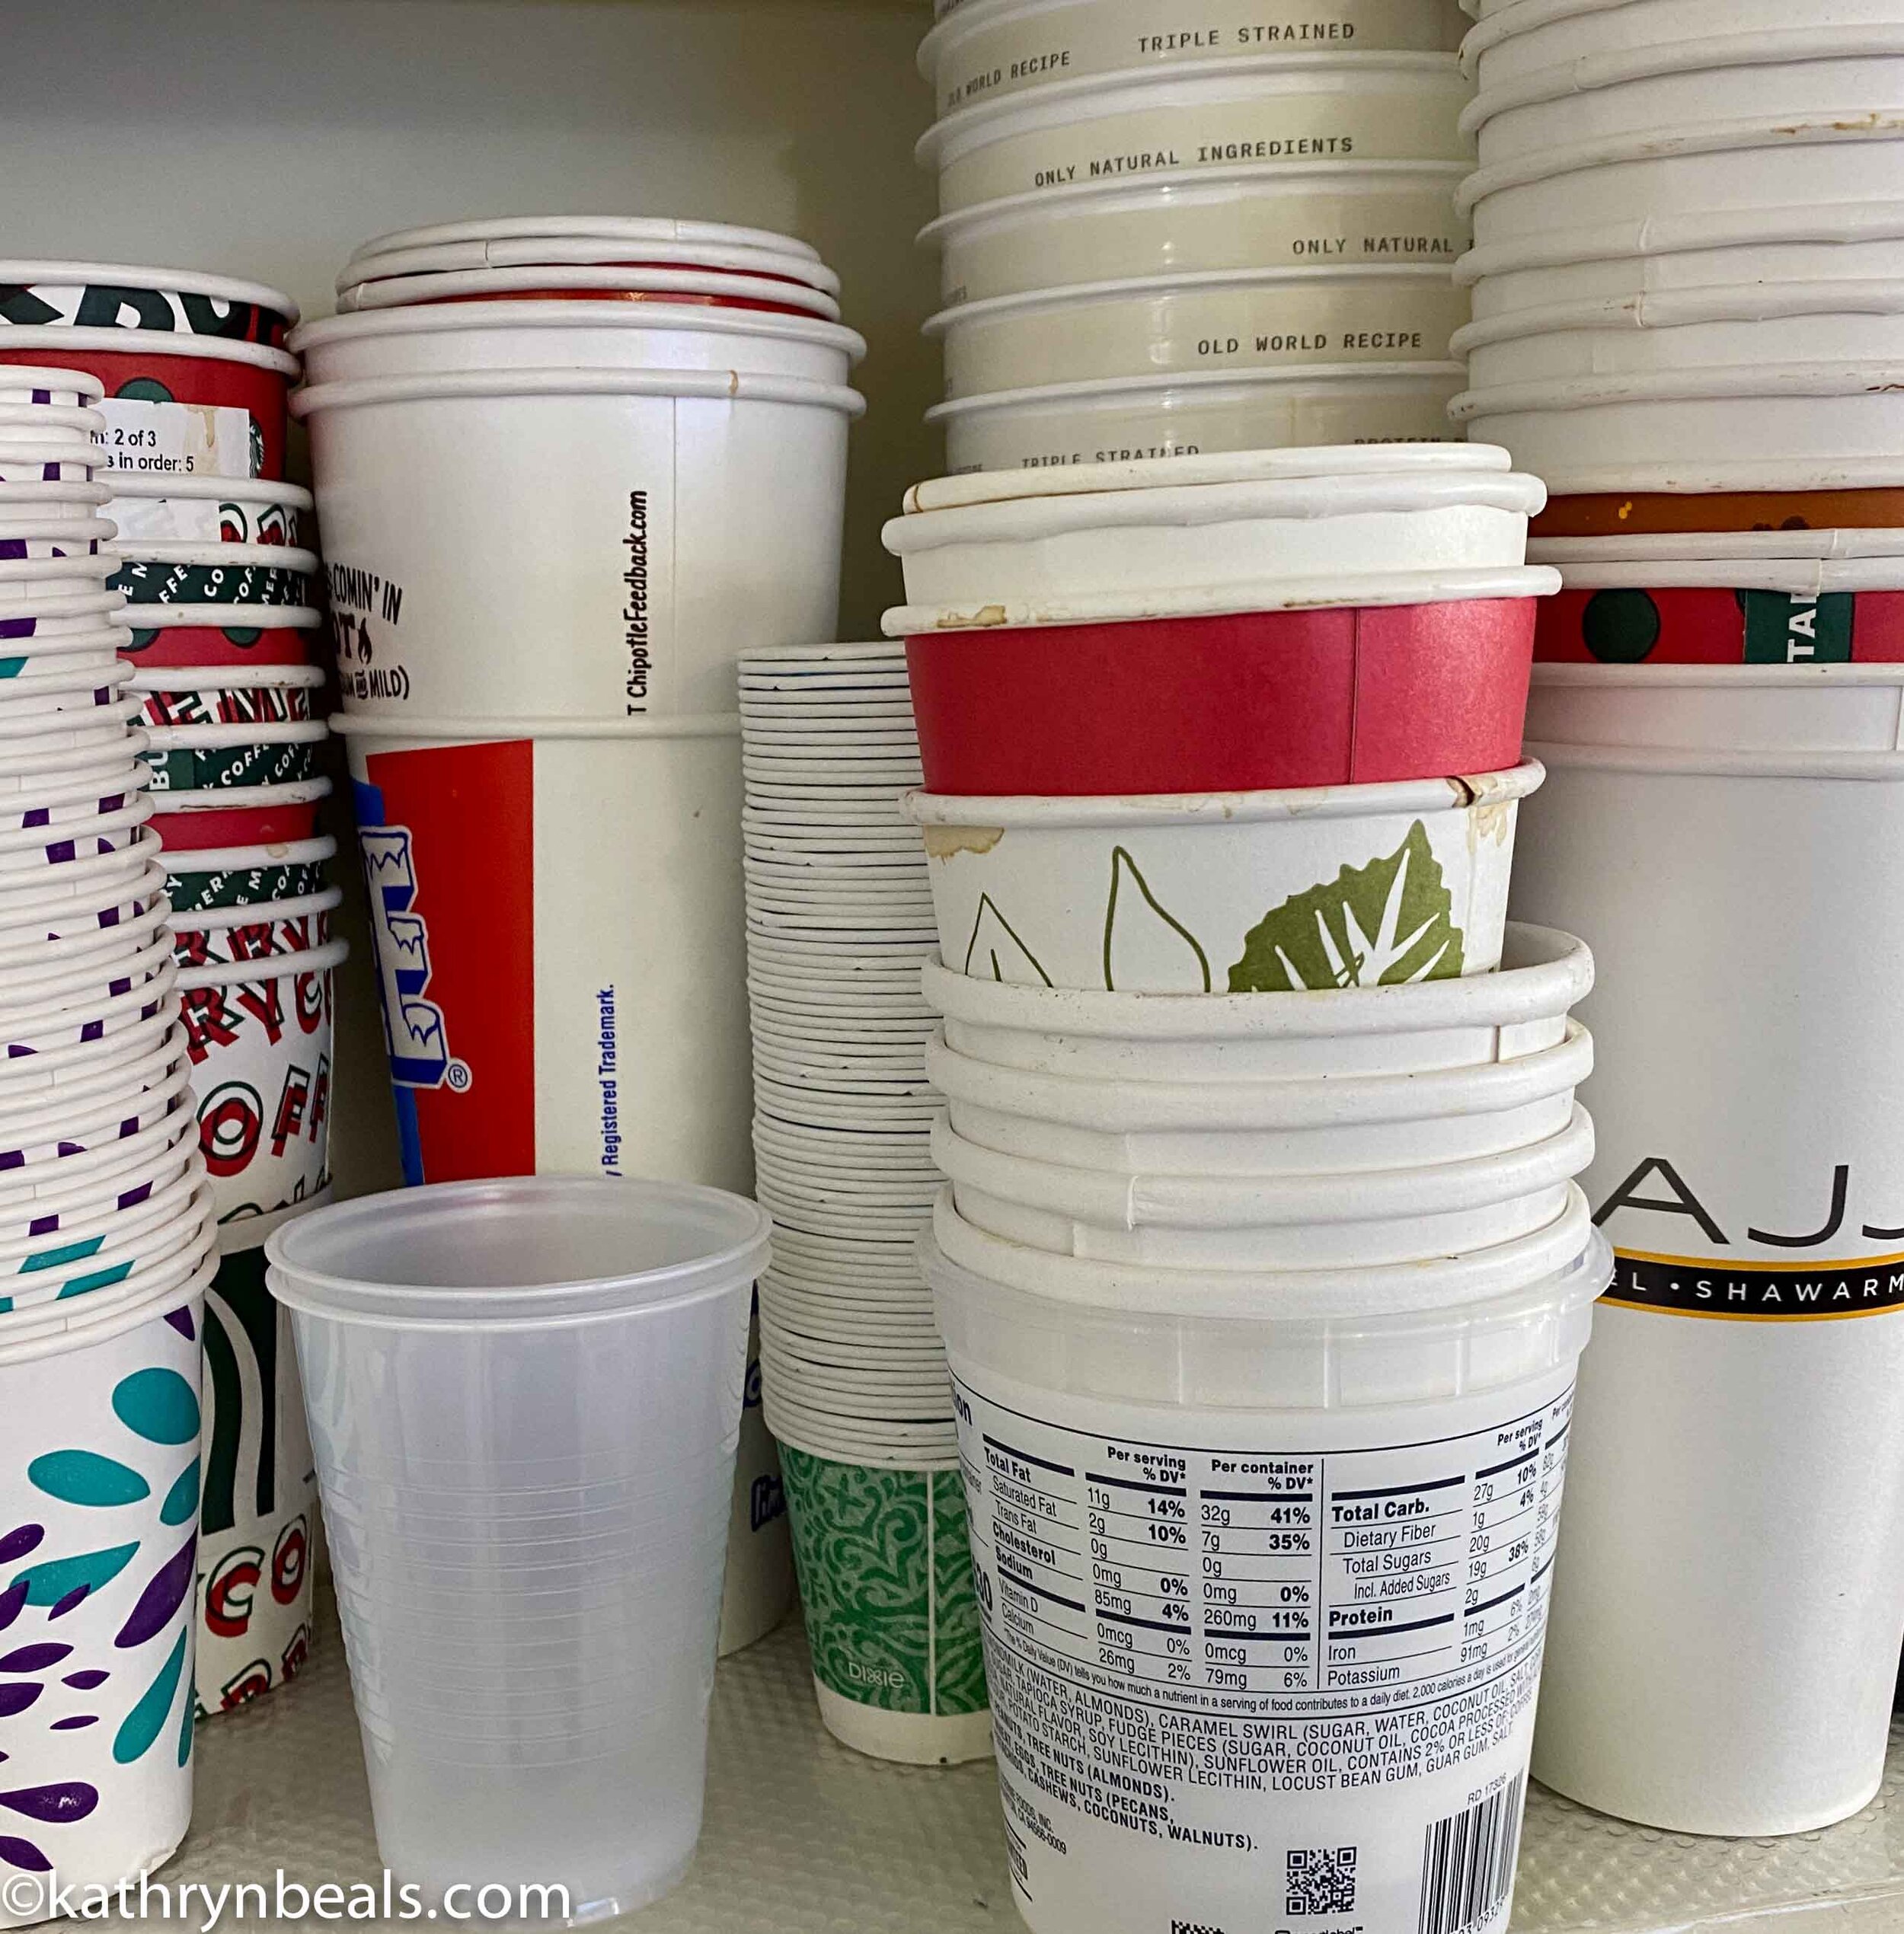
Cups - don’t buy, reuse!
I rinse and save cups and containers that would have been thrown away, and crowdsource them from my friends as well. I also bring save and bring home extra napkins. Every little bit helps!
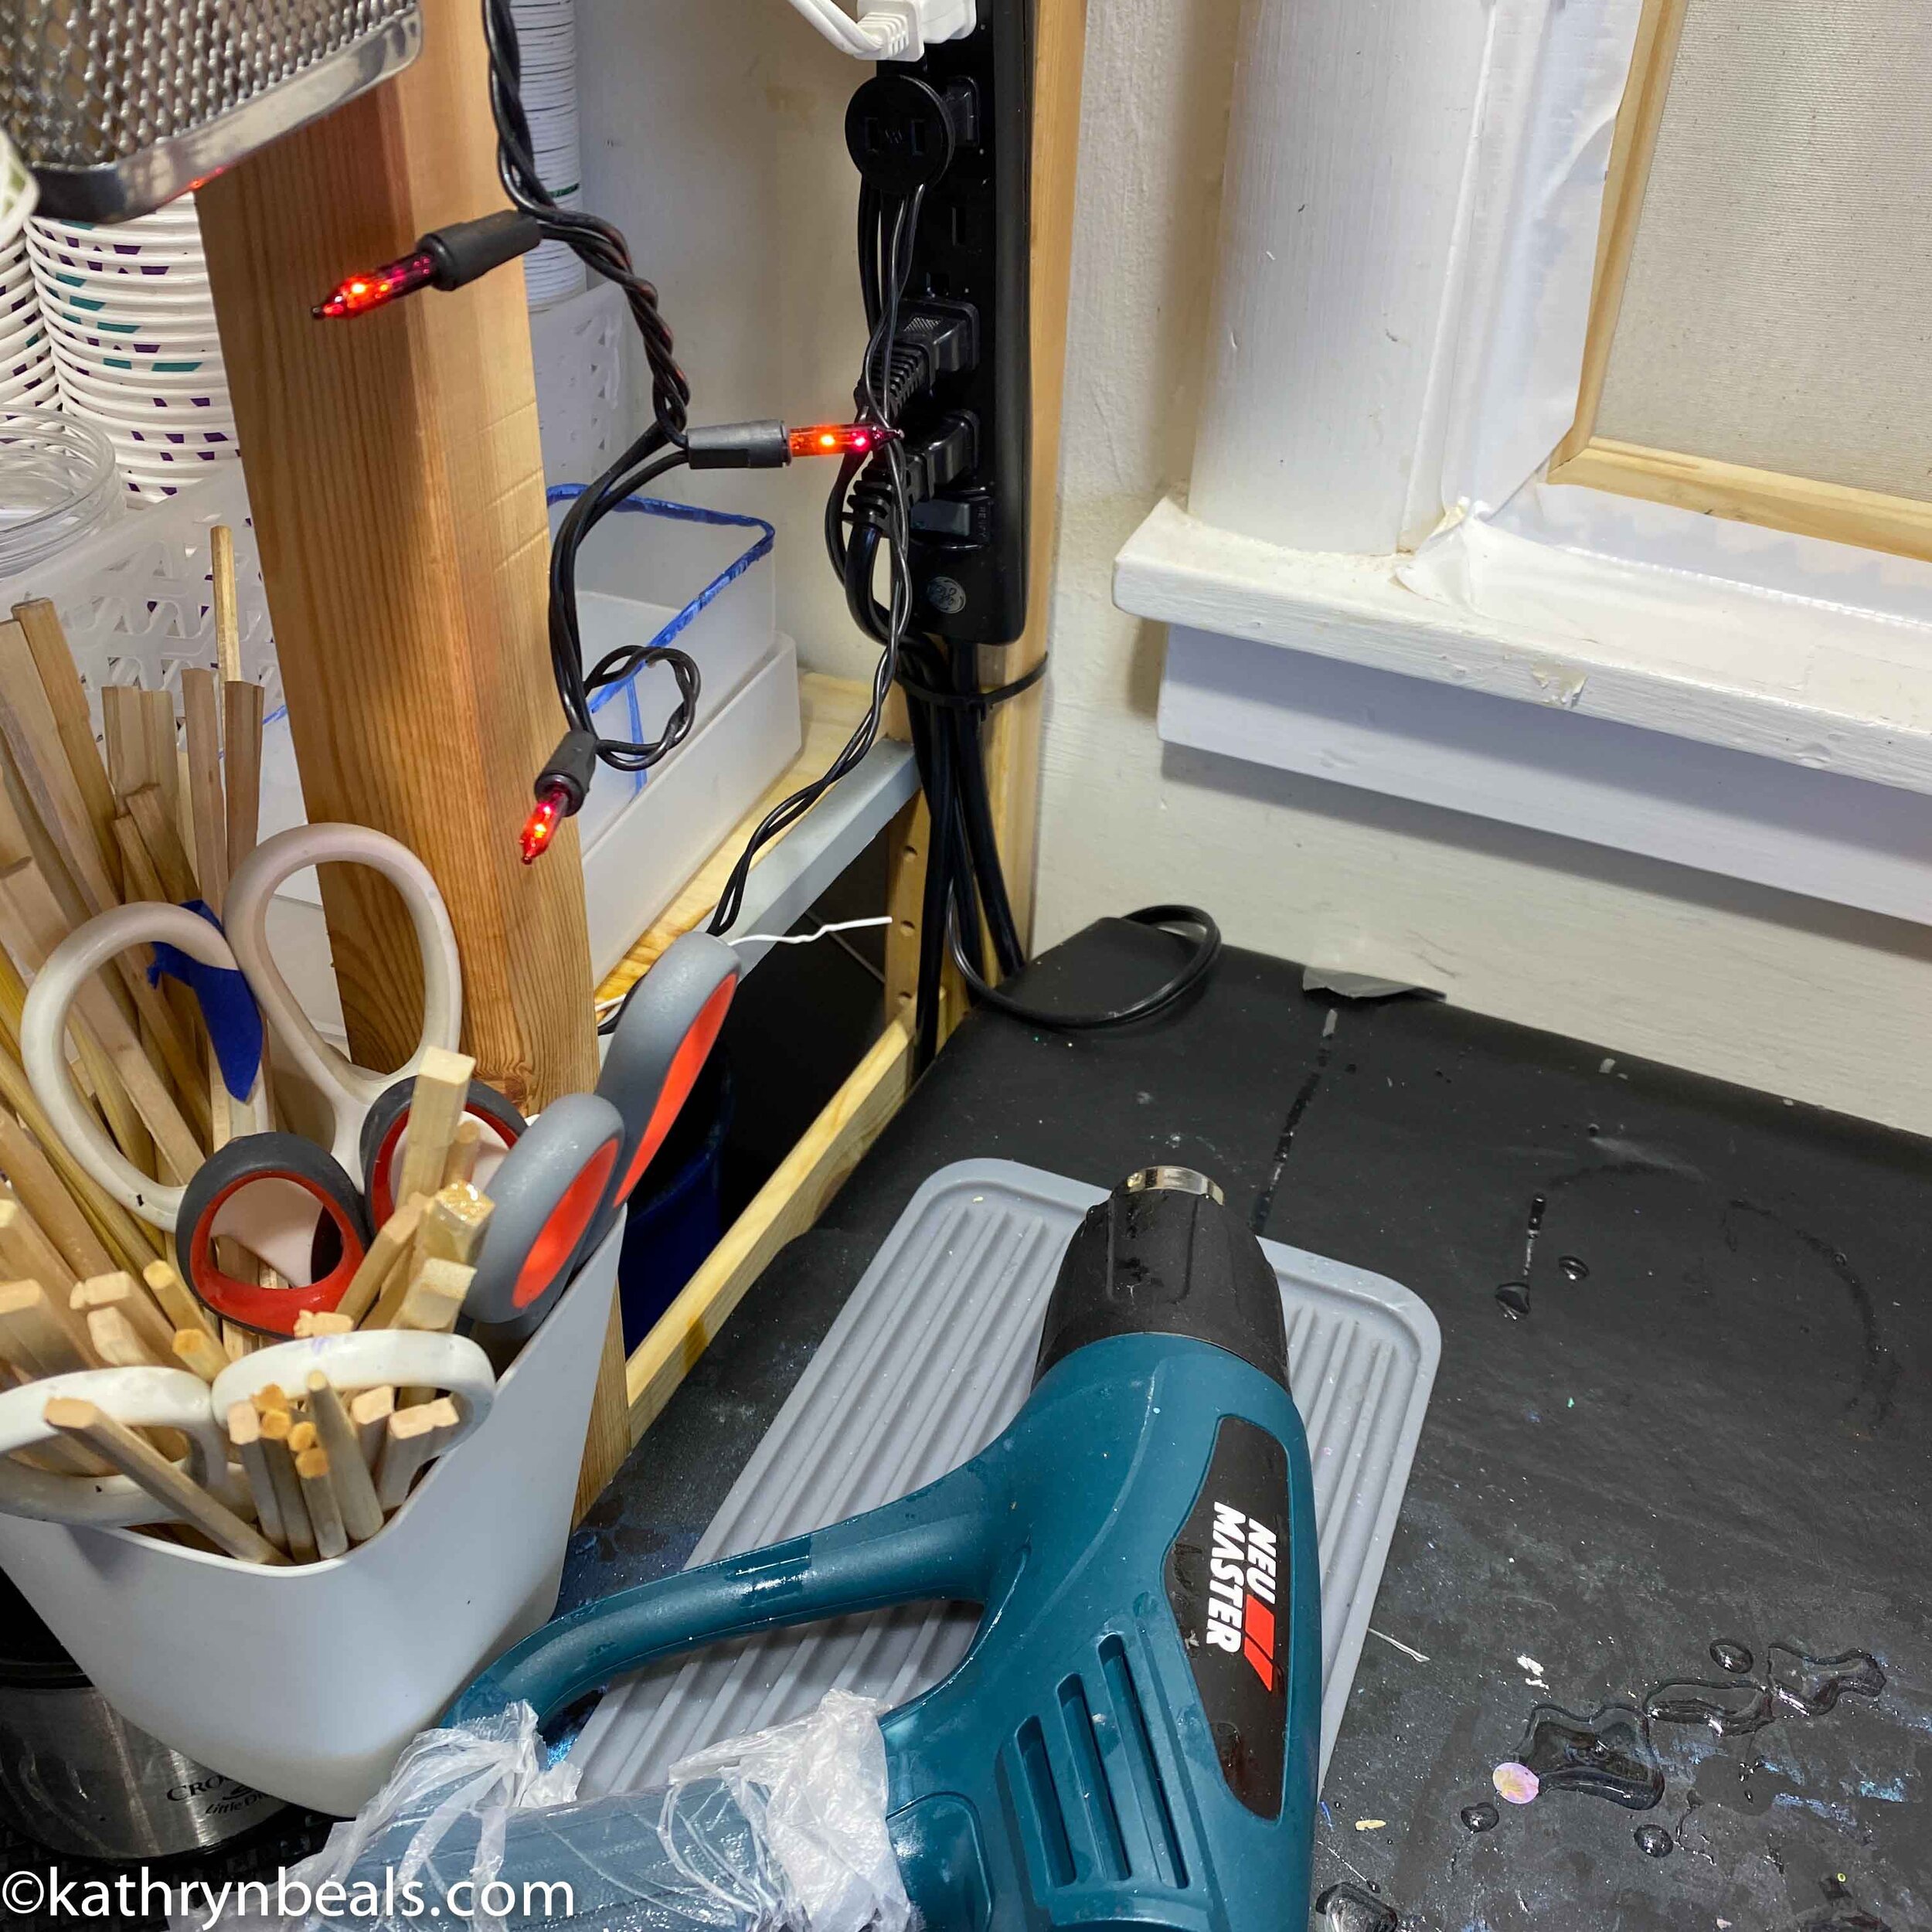
My beloved torch, great for resin bubbles or heating up my burning brand. Pro tip, use the wider propane bottles for more stability when you set it down.
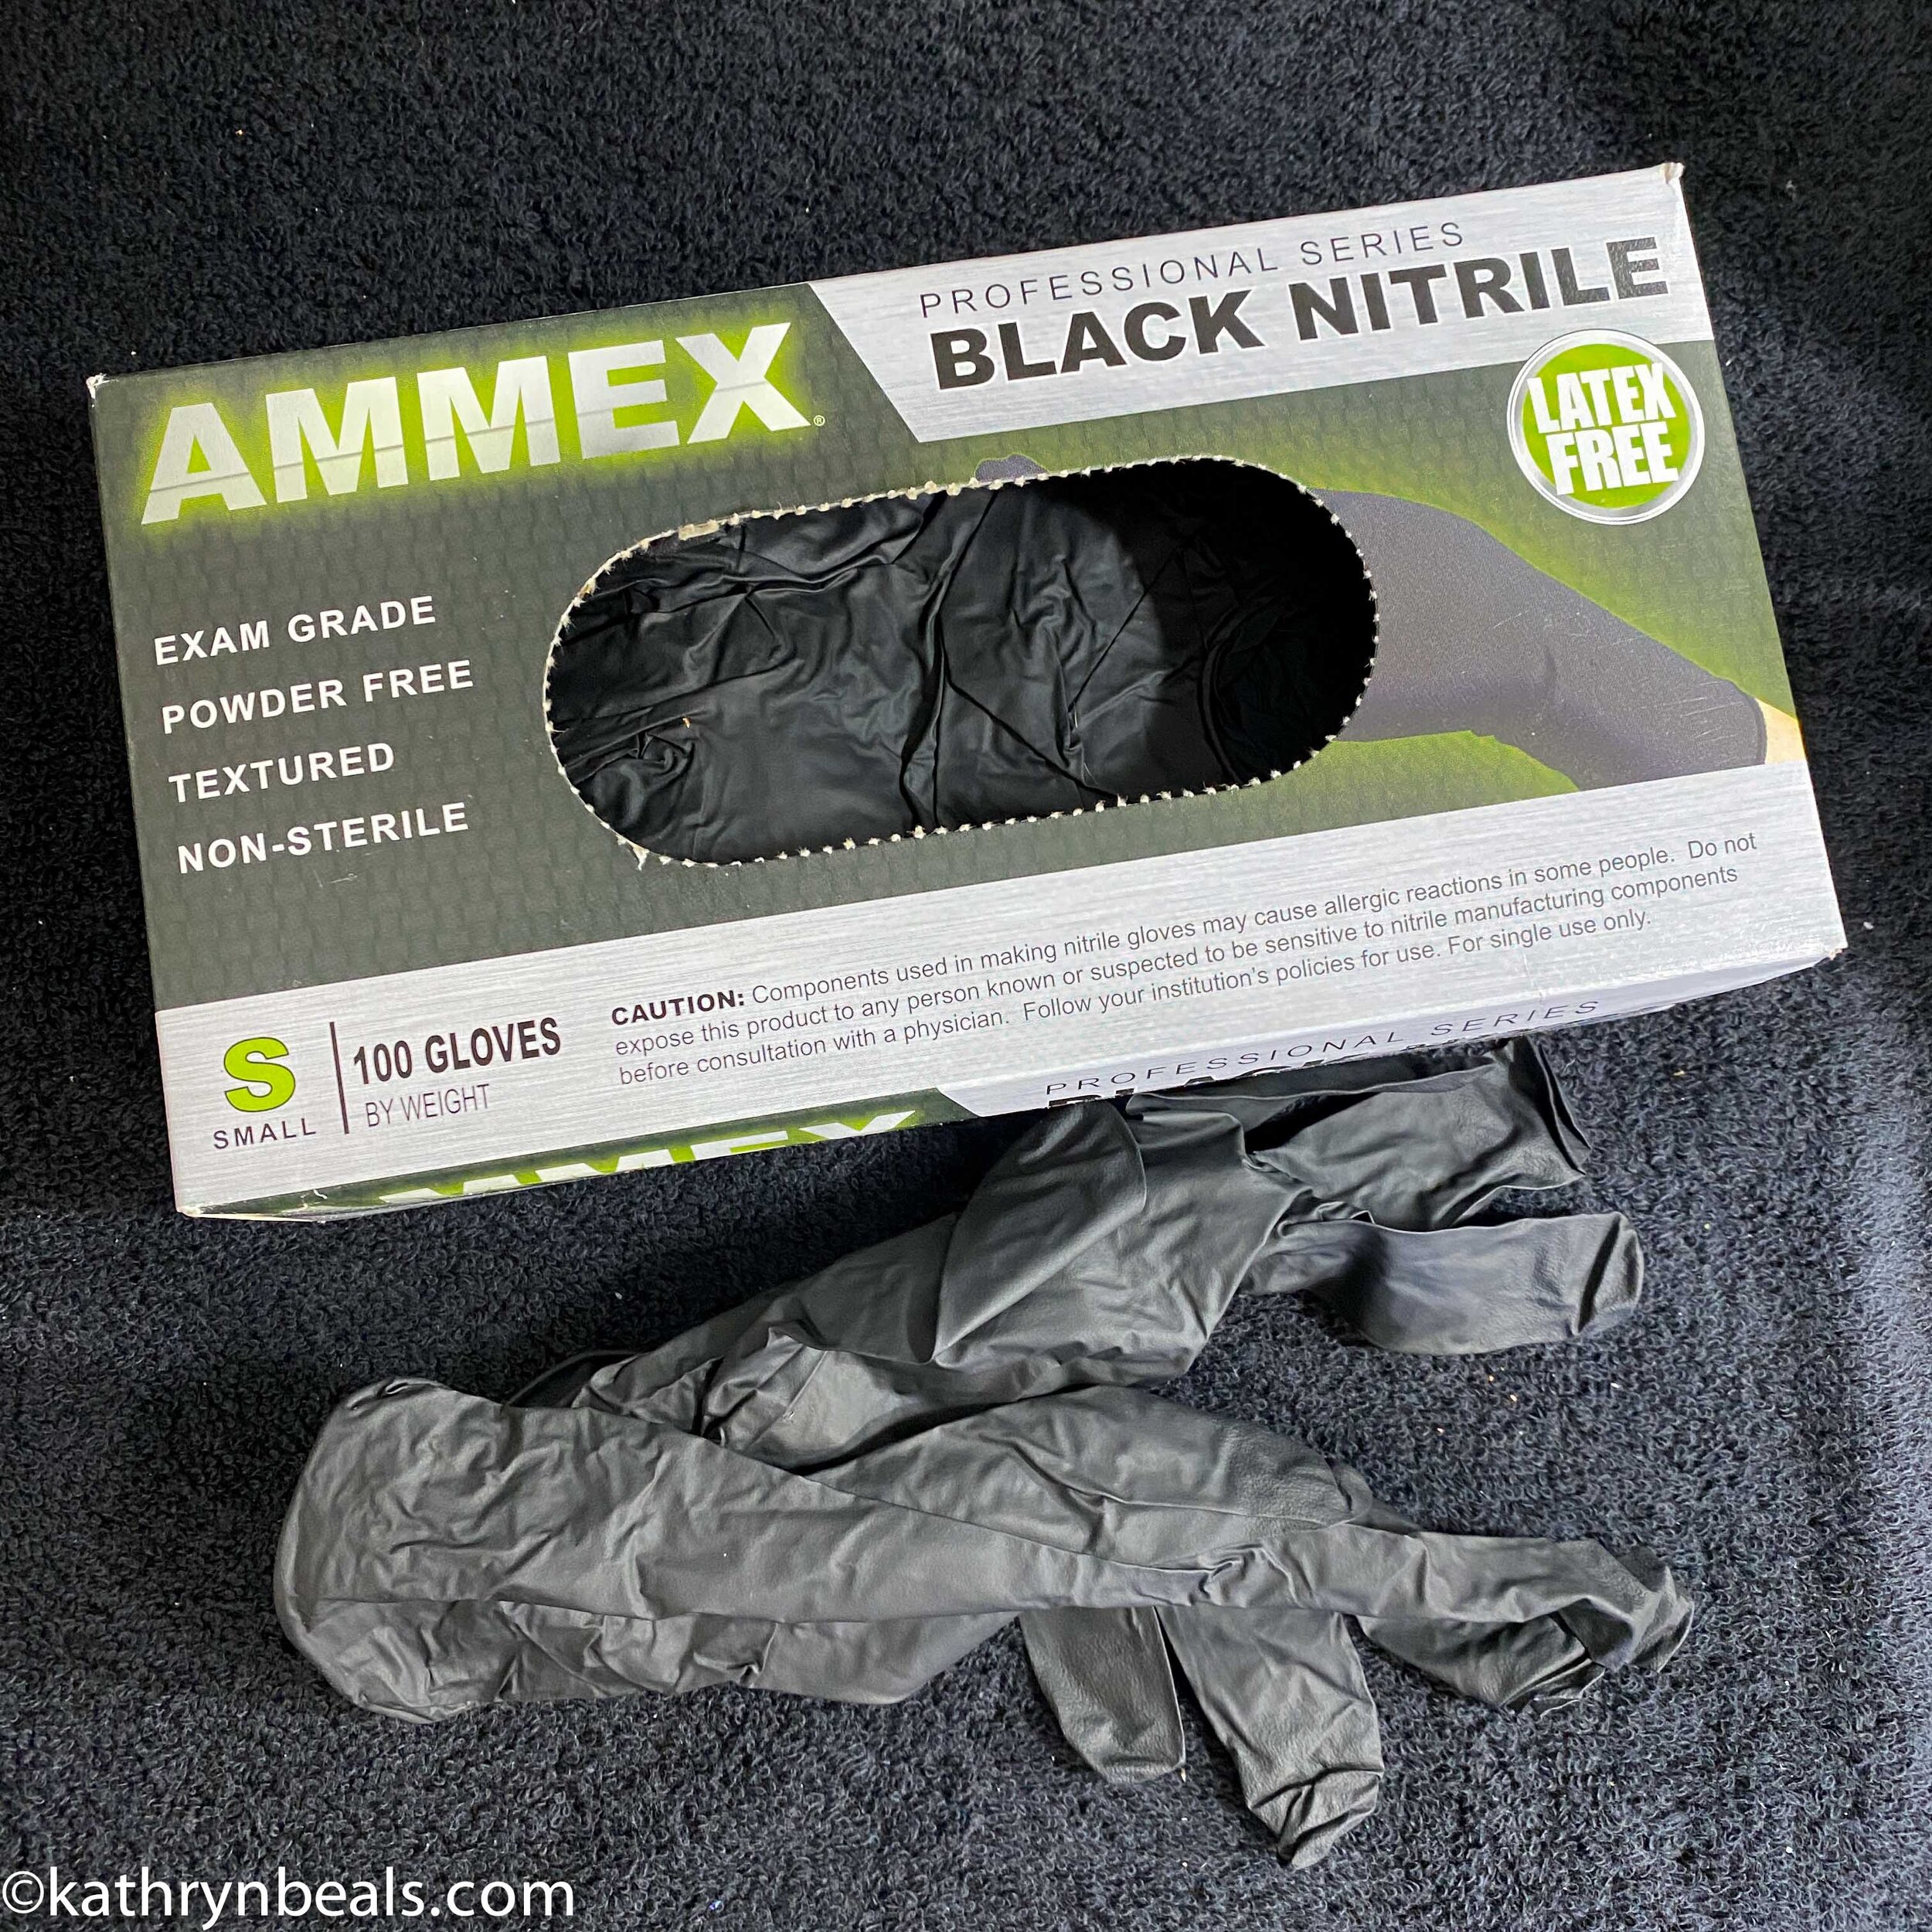
I prefer black nitrile gloves to protect my hands from the paint and resin, and keep oils from my hands off my paintings. Reuse them as often as possible by cleaning them with alcohol while you are still wearing them.
Palette knives are useful for swiping the paint on your canvas.
Mixing your paints - I’ll share my own mixing ratios and tips in my upcoming Acrylic Pouring course, but each artist has their own mix and there are many recipes and products that you can try online. Here are the main components that I use:
Flood Floetrol
You can buy this at the hardware store. Shake well before dispensing.
TriArt or Golden acrylic paint
I use both Golden fluid paint and TriArt professional fluid acrylics. They both have a high pigment strength and great performance in fluid or traditional painting.
My condiment bottle system to reduce paint and cup waste
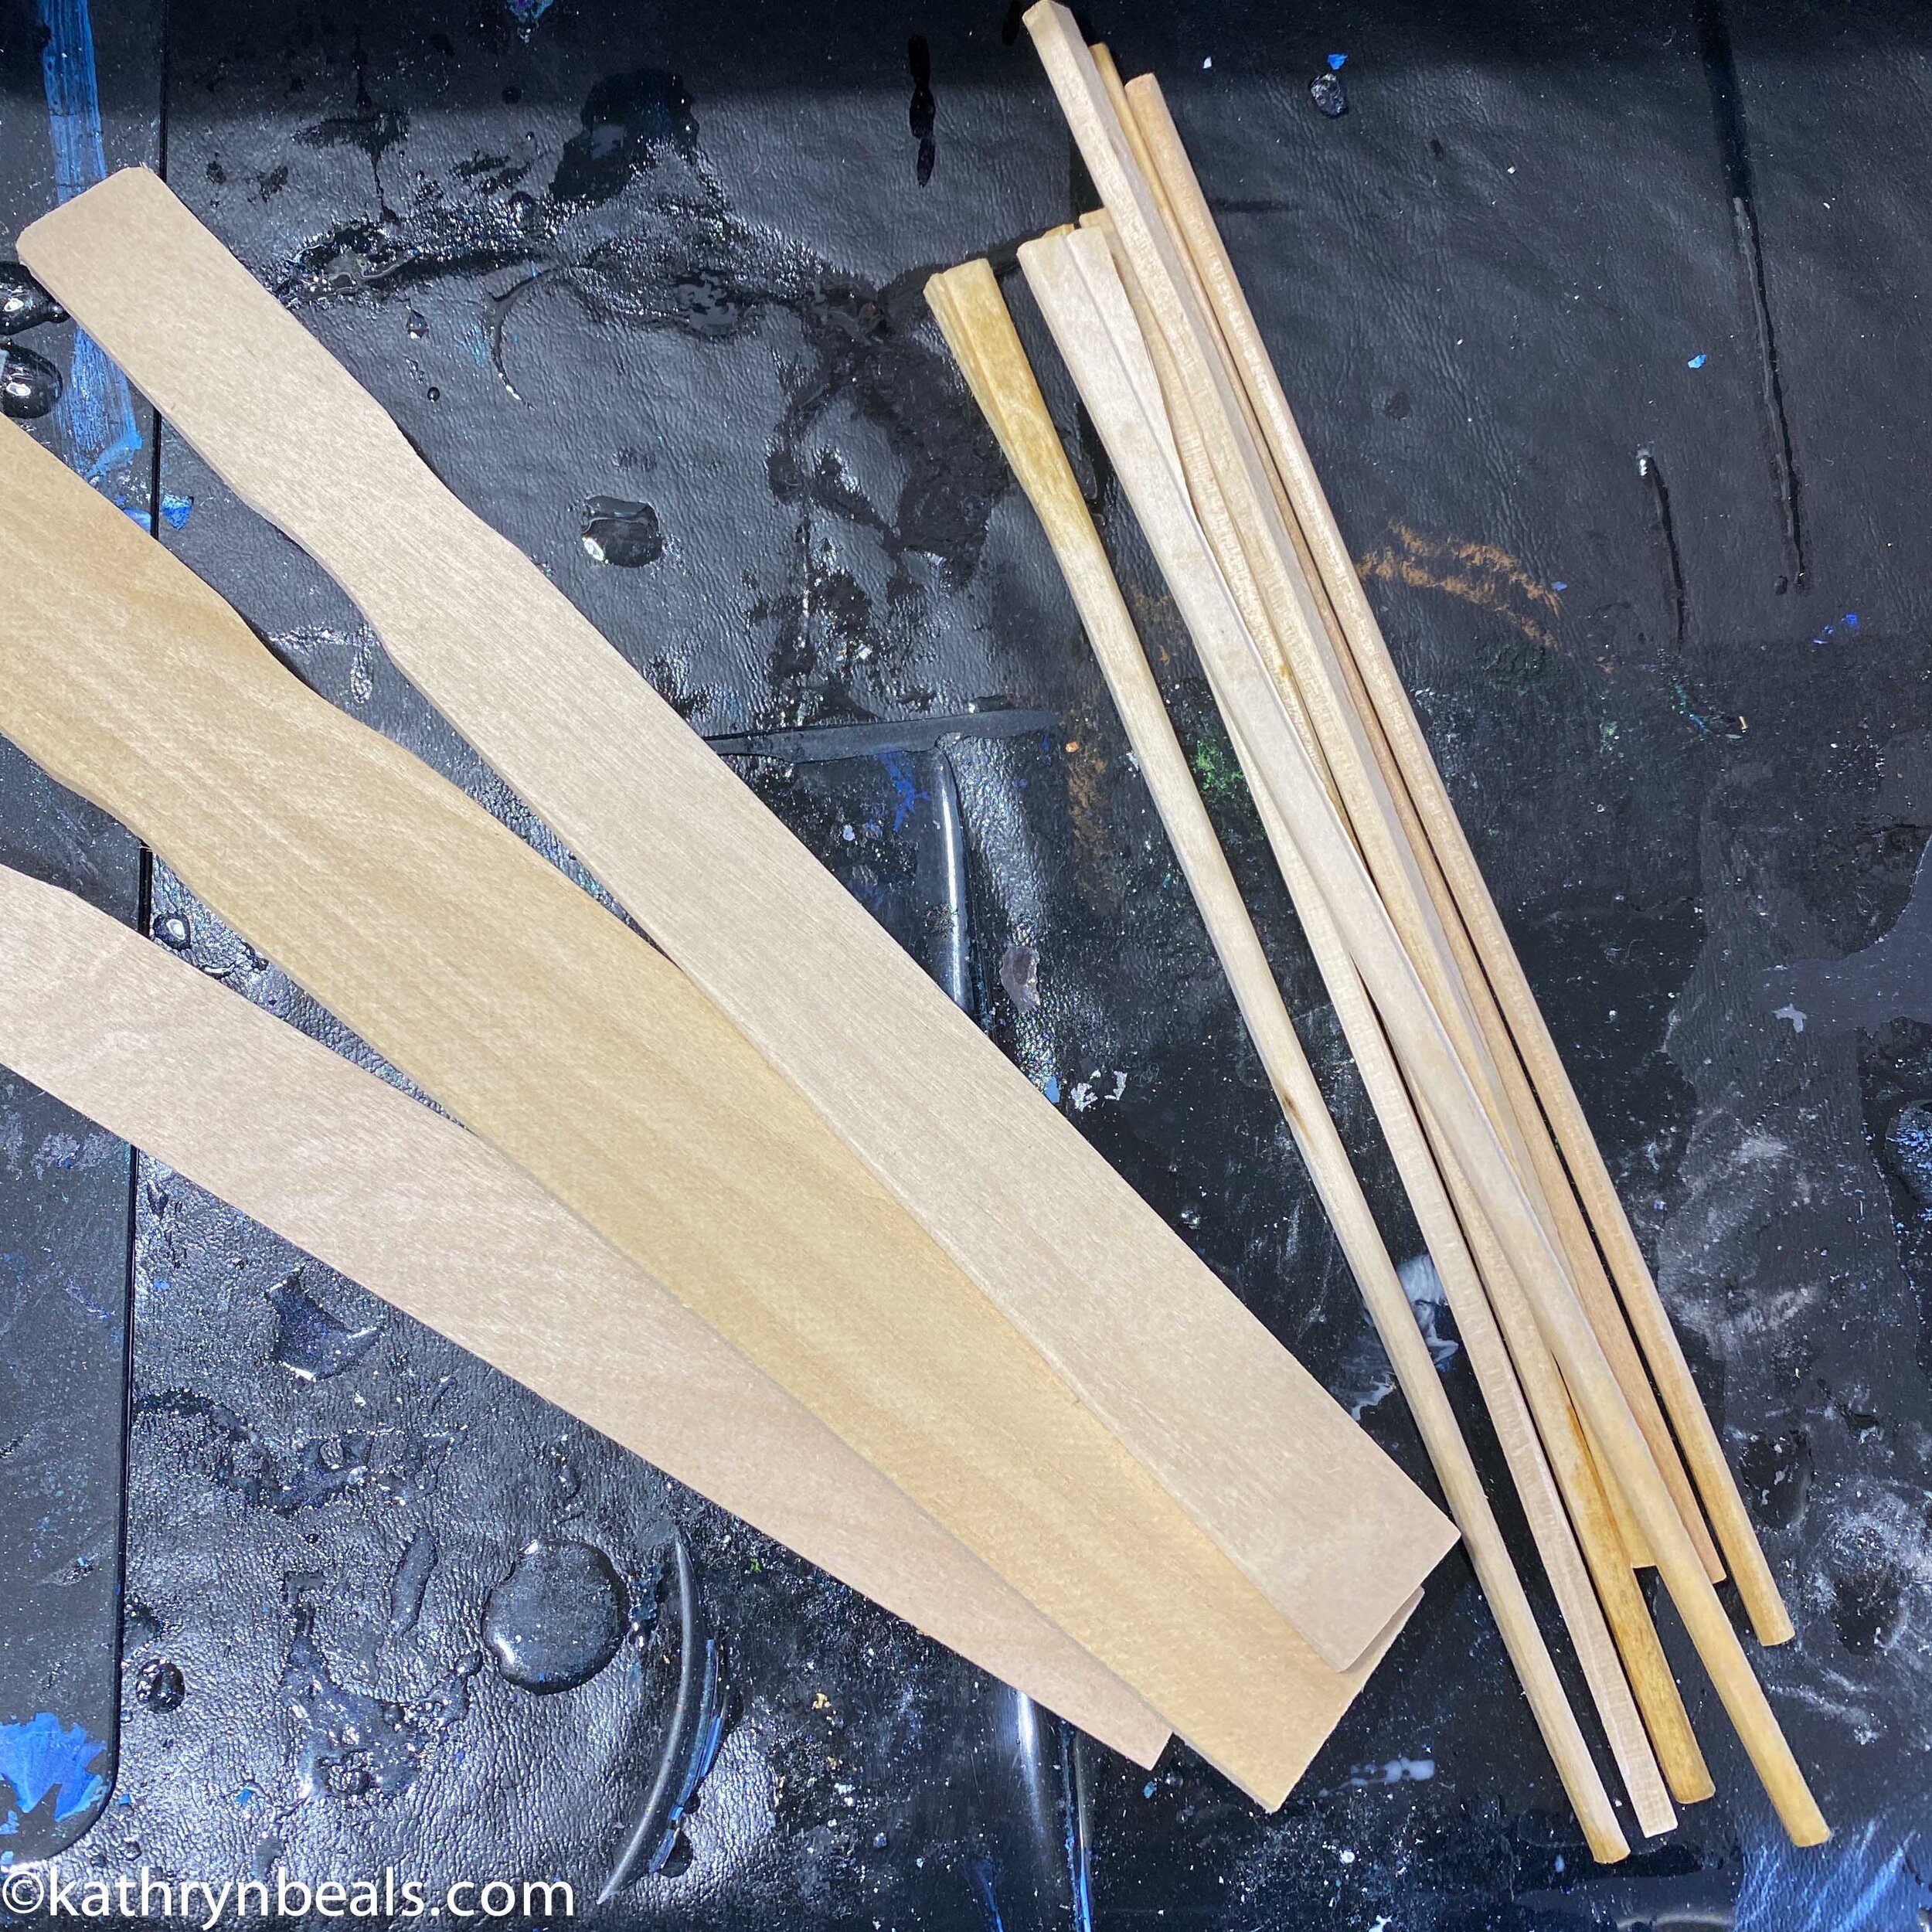
Whatever mix you use, instead of mixing your paints from scratch each time, I recommend you store mixed paint for up to three months in condiment bottles, with a mesh strainer and a marble inside to aid mixing. Your paints are ready to pour any time, and you can avoid the waste of additional cups and sticks. Refill your bottles again and again! This method is detailed in my Sustainable Fluid Art mini course.
Use my condiment bottle system to save wasted paint and cups. You can get these in smaller sizes, and reuse multiple times.
A marble in the bottom of each condiment bottle with the mixed paint helps mix the paint when you shake it up!
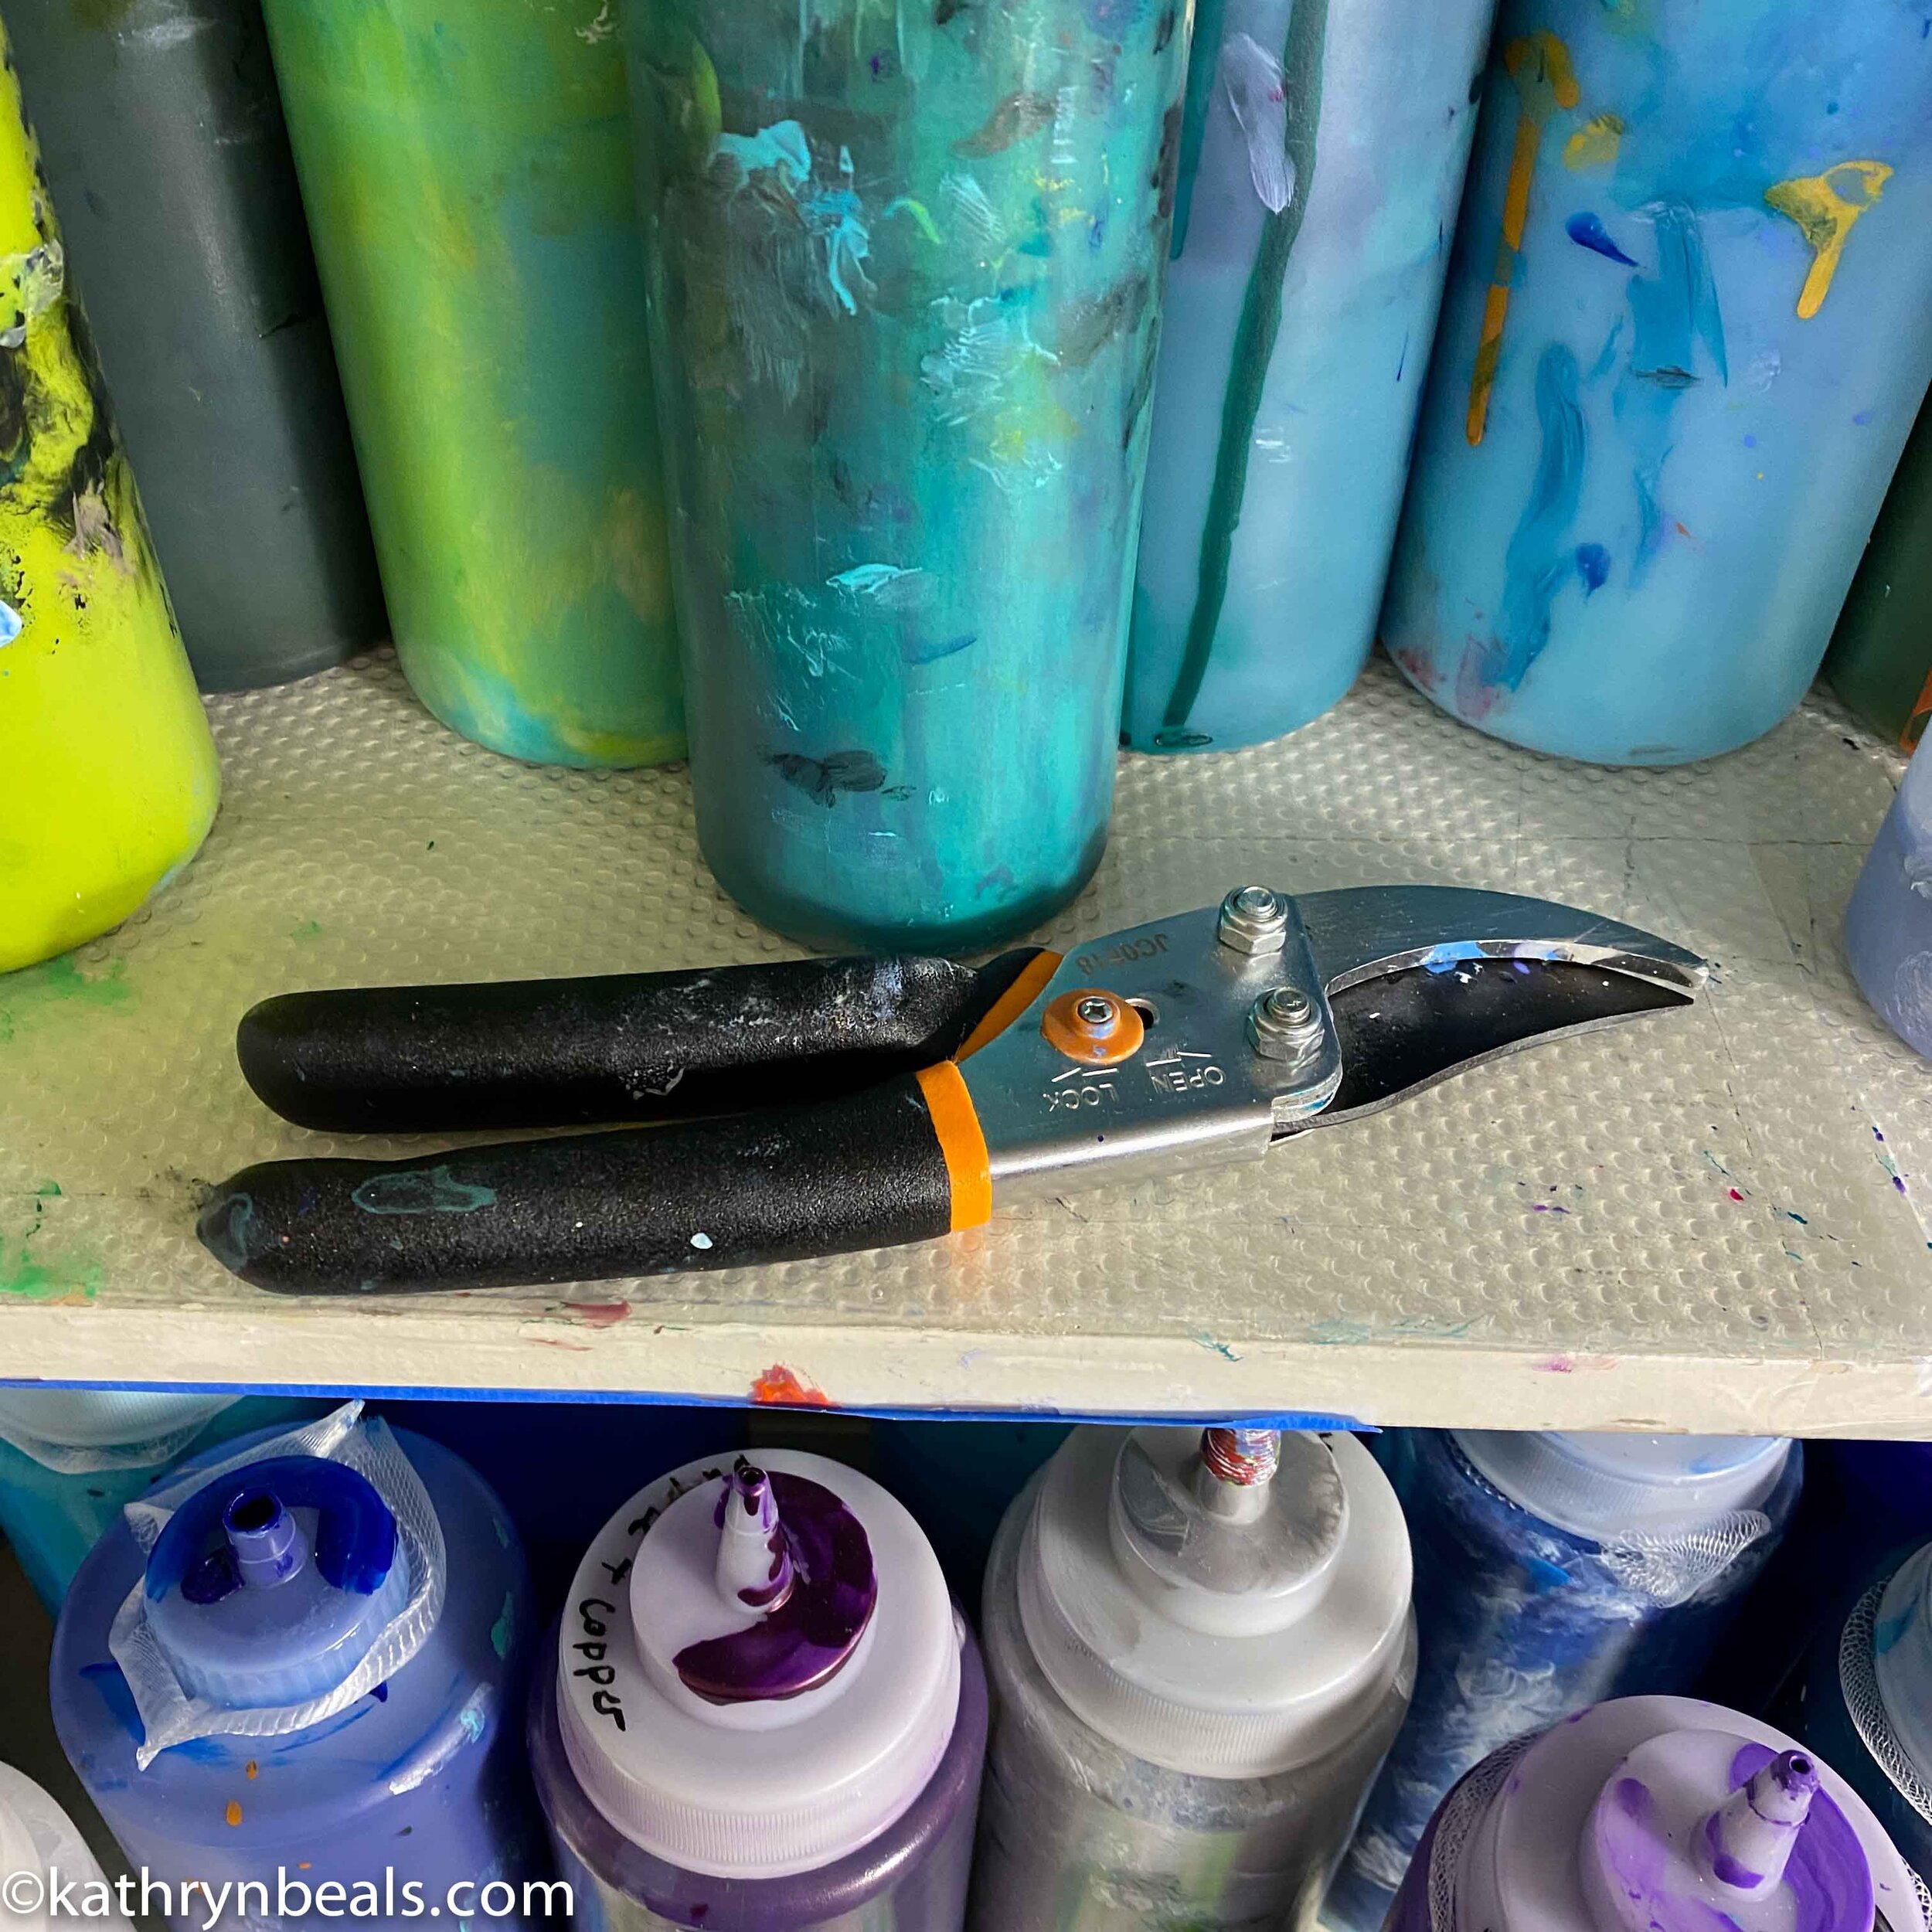
These disposable mesh strainers are useful in the condiment bottles, both to strain clumps from the pouring medium and to stop the marble from clogging the tip. I cut these sink strainers in half.
Setting up for acrylic pouring - this is a messy fun project! You’ll need a level area to pour, and a safe place to let your painting dry, for up to a week. Here are some things I use to make this possible without using a lot of disposable products.
IKEA Billy bookcase
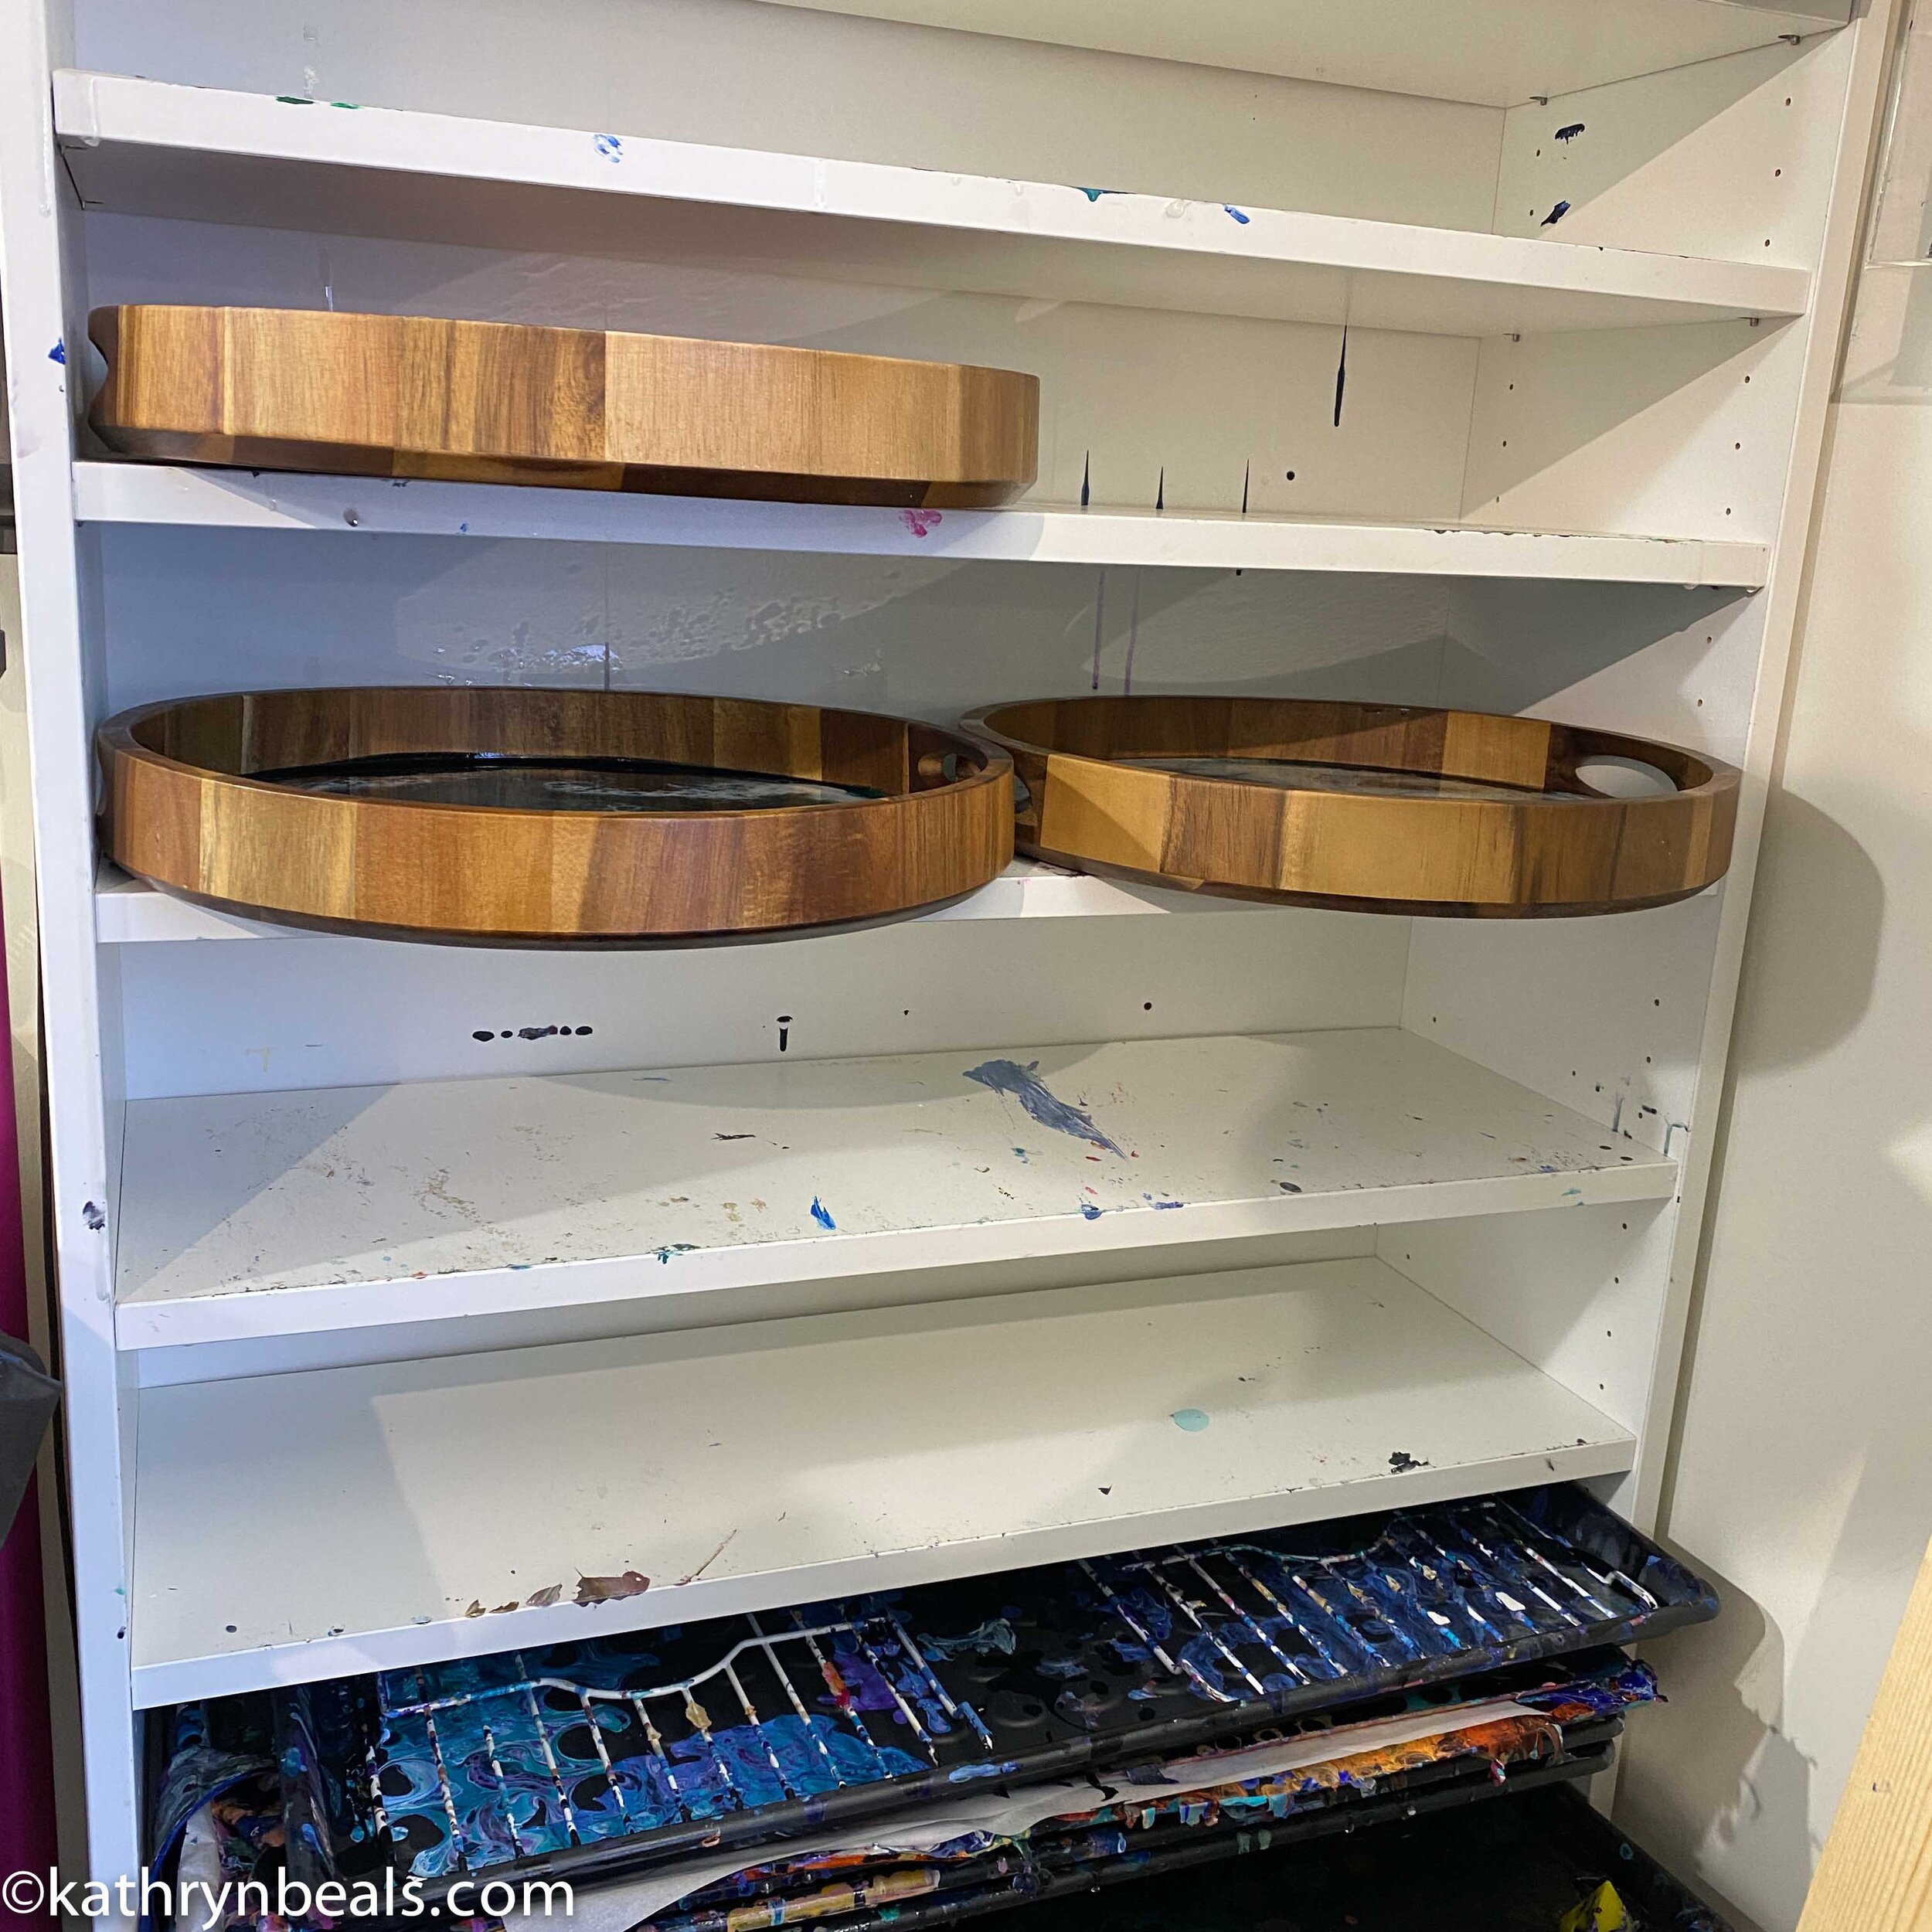
If you buy extra shelves for these bookcases, they make great drying racks. Check the shelves regularly with a level. It fits two trays or two fast food drip trays on each shelf!
Reusable drip trays resist paint and resin, so you can peel off the drips and use them again and again.
Washing machine drain pan
If you can find one at the hardware store, these washing machine drain pans are a great way to contain the acrylic and resin drips for large paintings. Two of them fit nicely on a 6’ folding table.
This inexpensive hack was inspired by the fume hood in my old lab. I set it up to blow outward from the window, and seal around it with duct tape. When switched on high, it removes any fumes or smell from my work area.
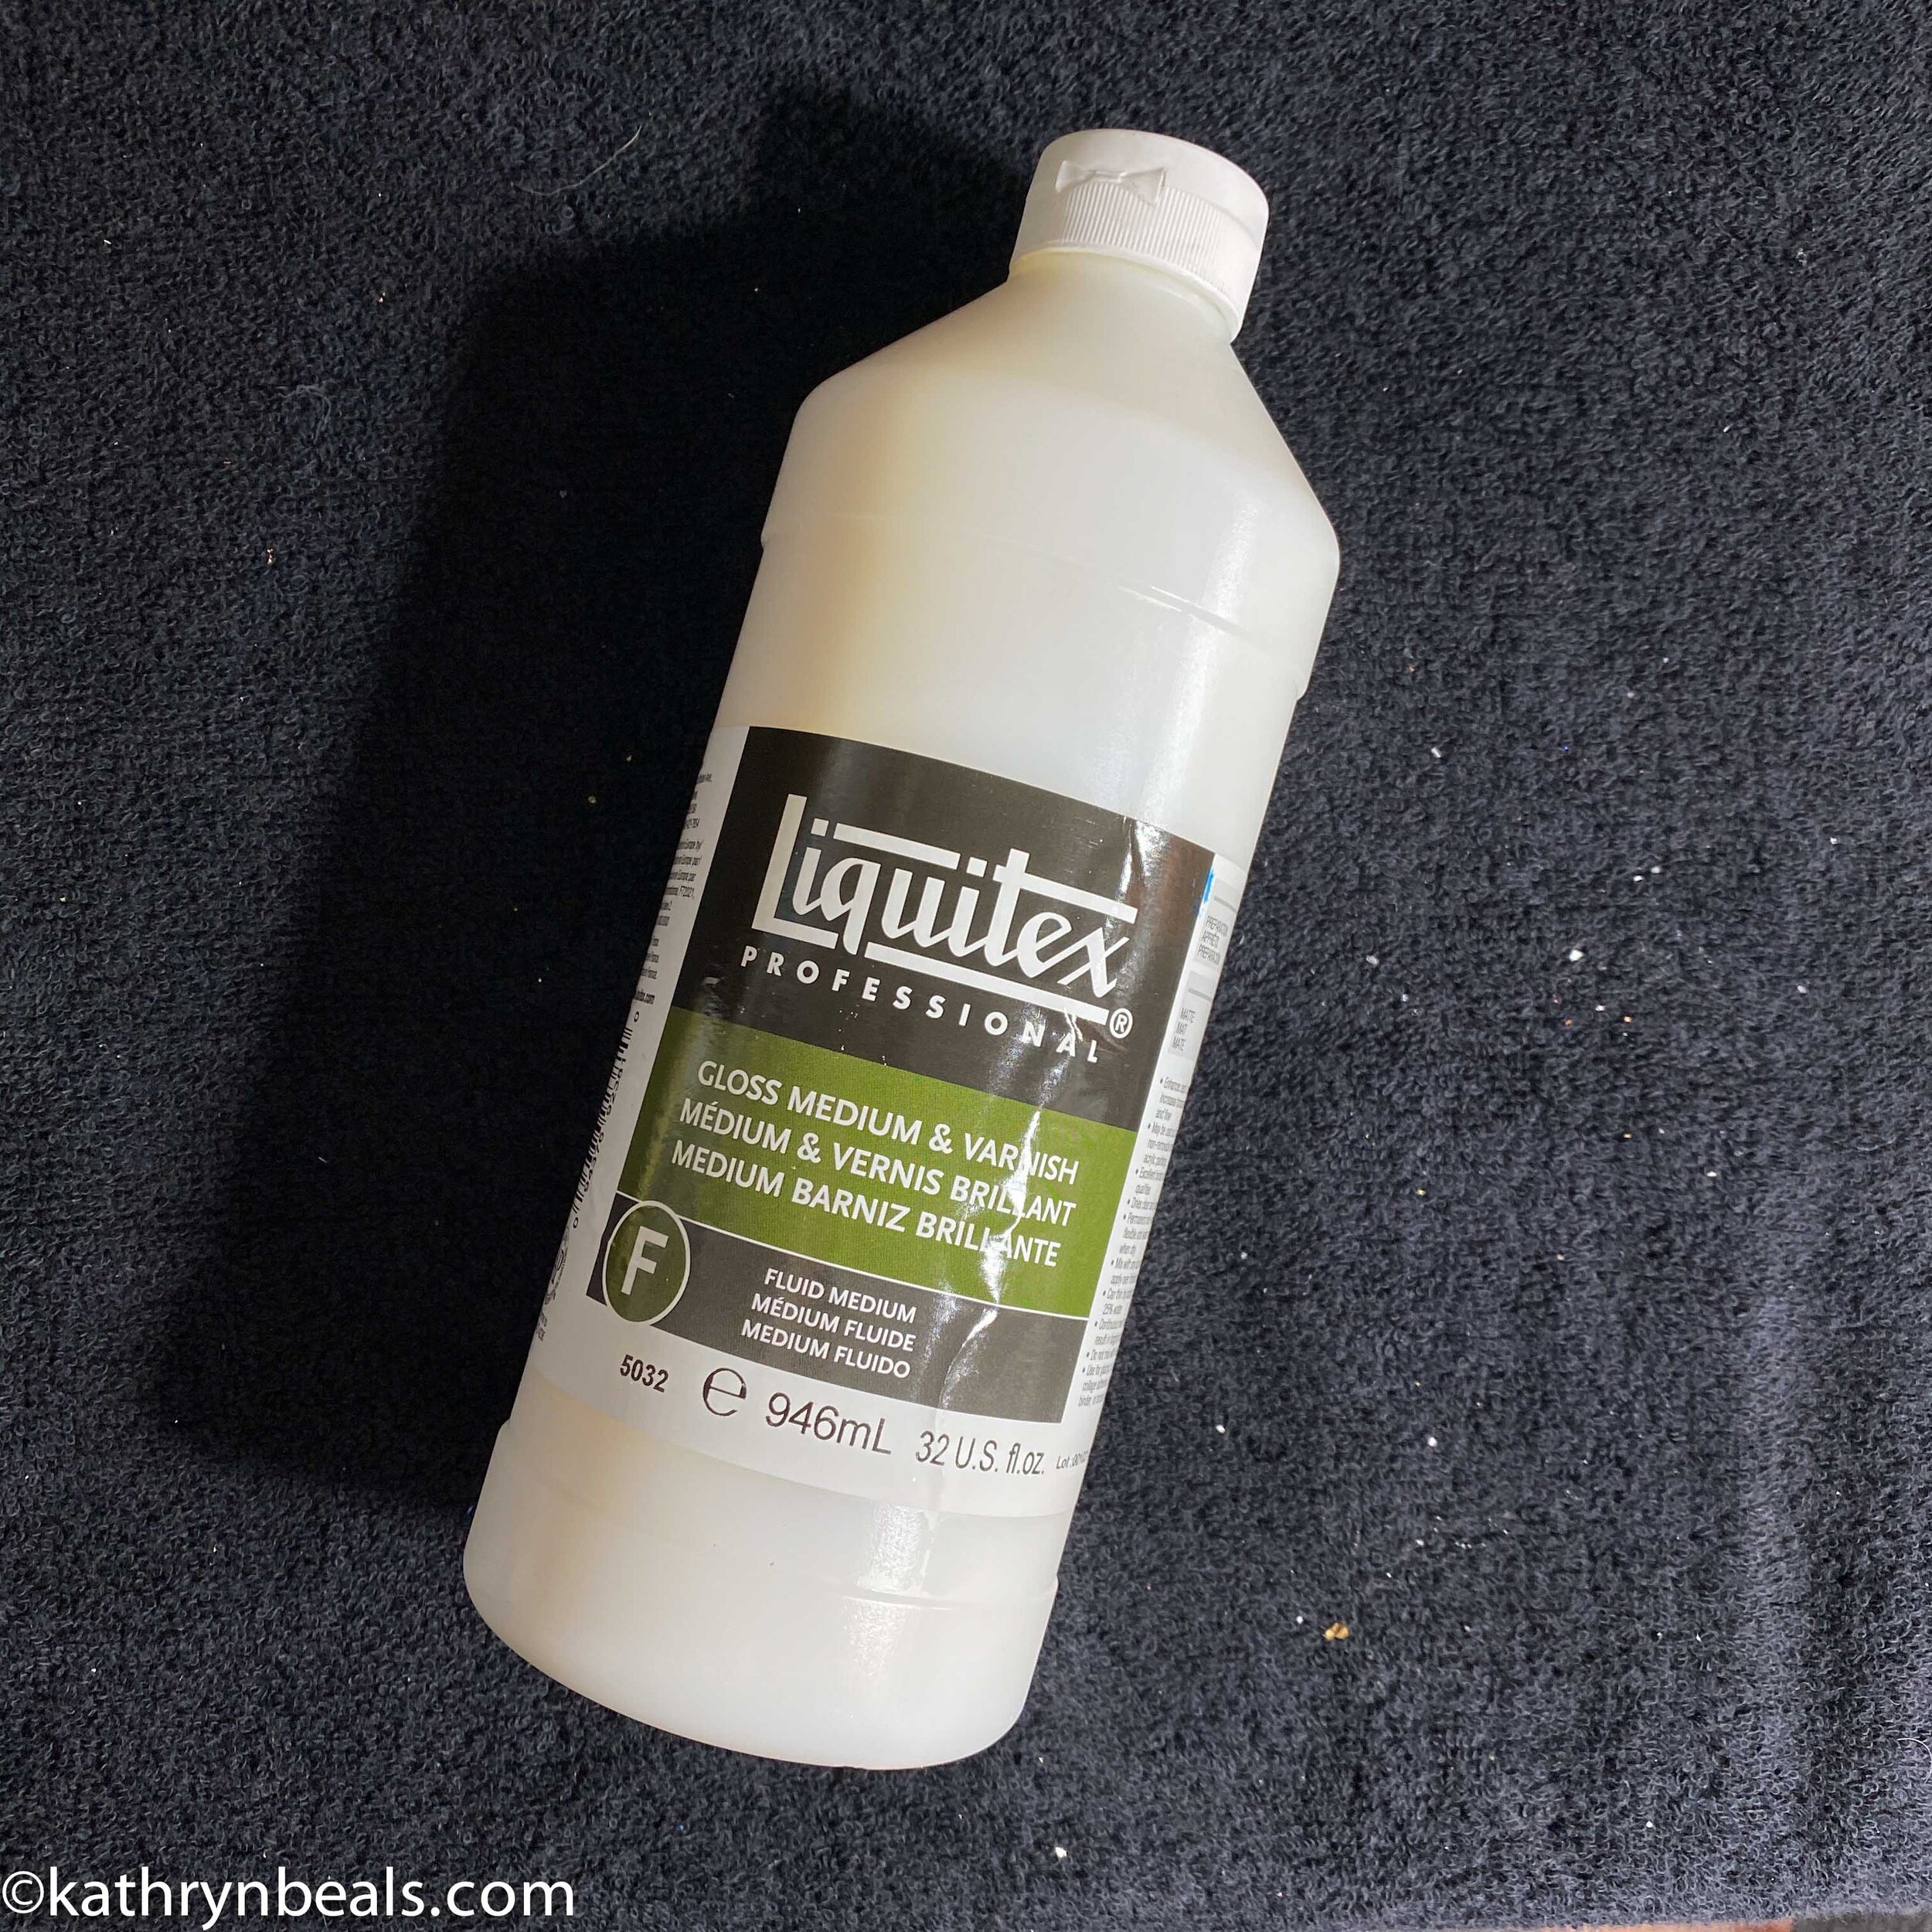
Surfaces - I recommend canvases for small acrylic pour paintings. If they are pre-primed, you don’t need to add a layer of gesso, but if you are re-pouring over an old painting, prime it with a layer of gesso to prevent cracking. For large paintings or ones where you will finish it with a layer of resin, I recommend cradled wood boards, which will support the weight of the paint and resin without sagging. Reuse your surfaces as often as you can.
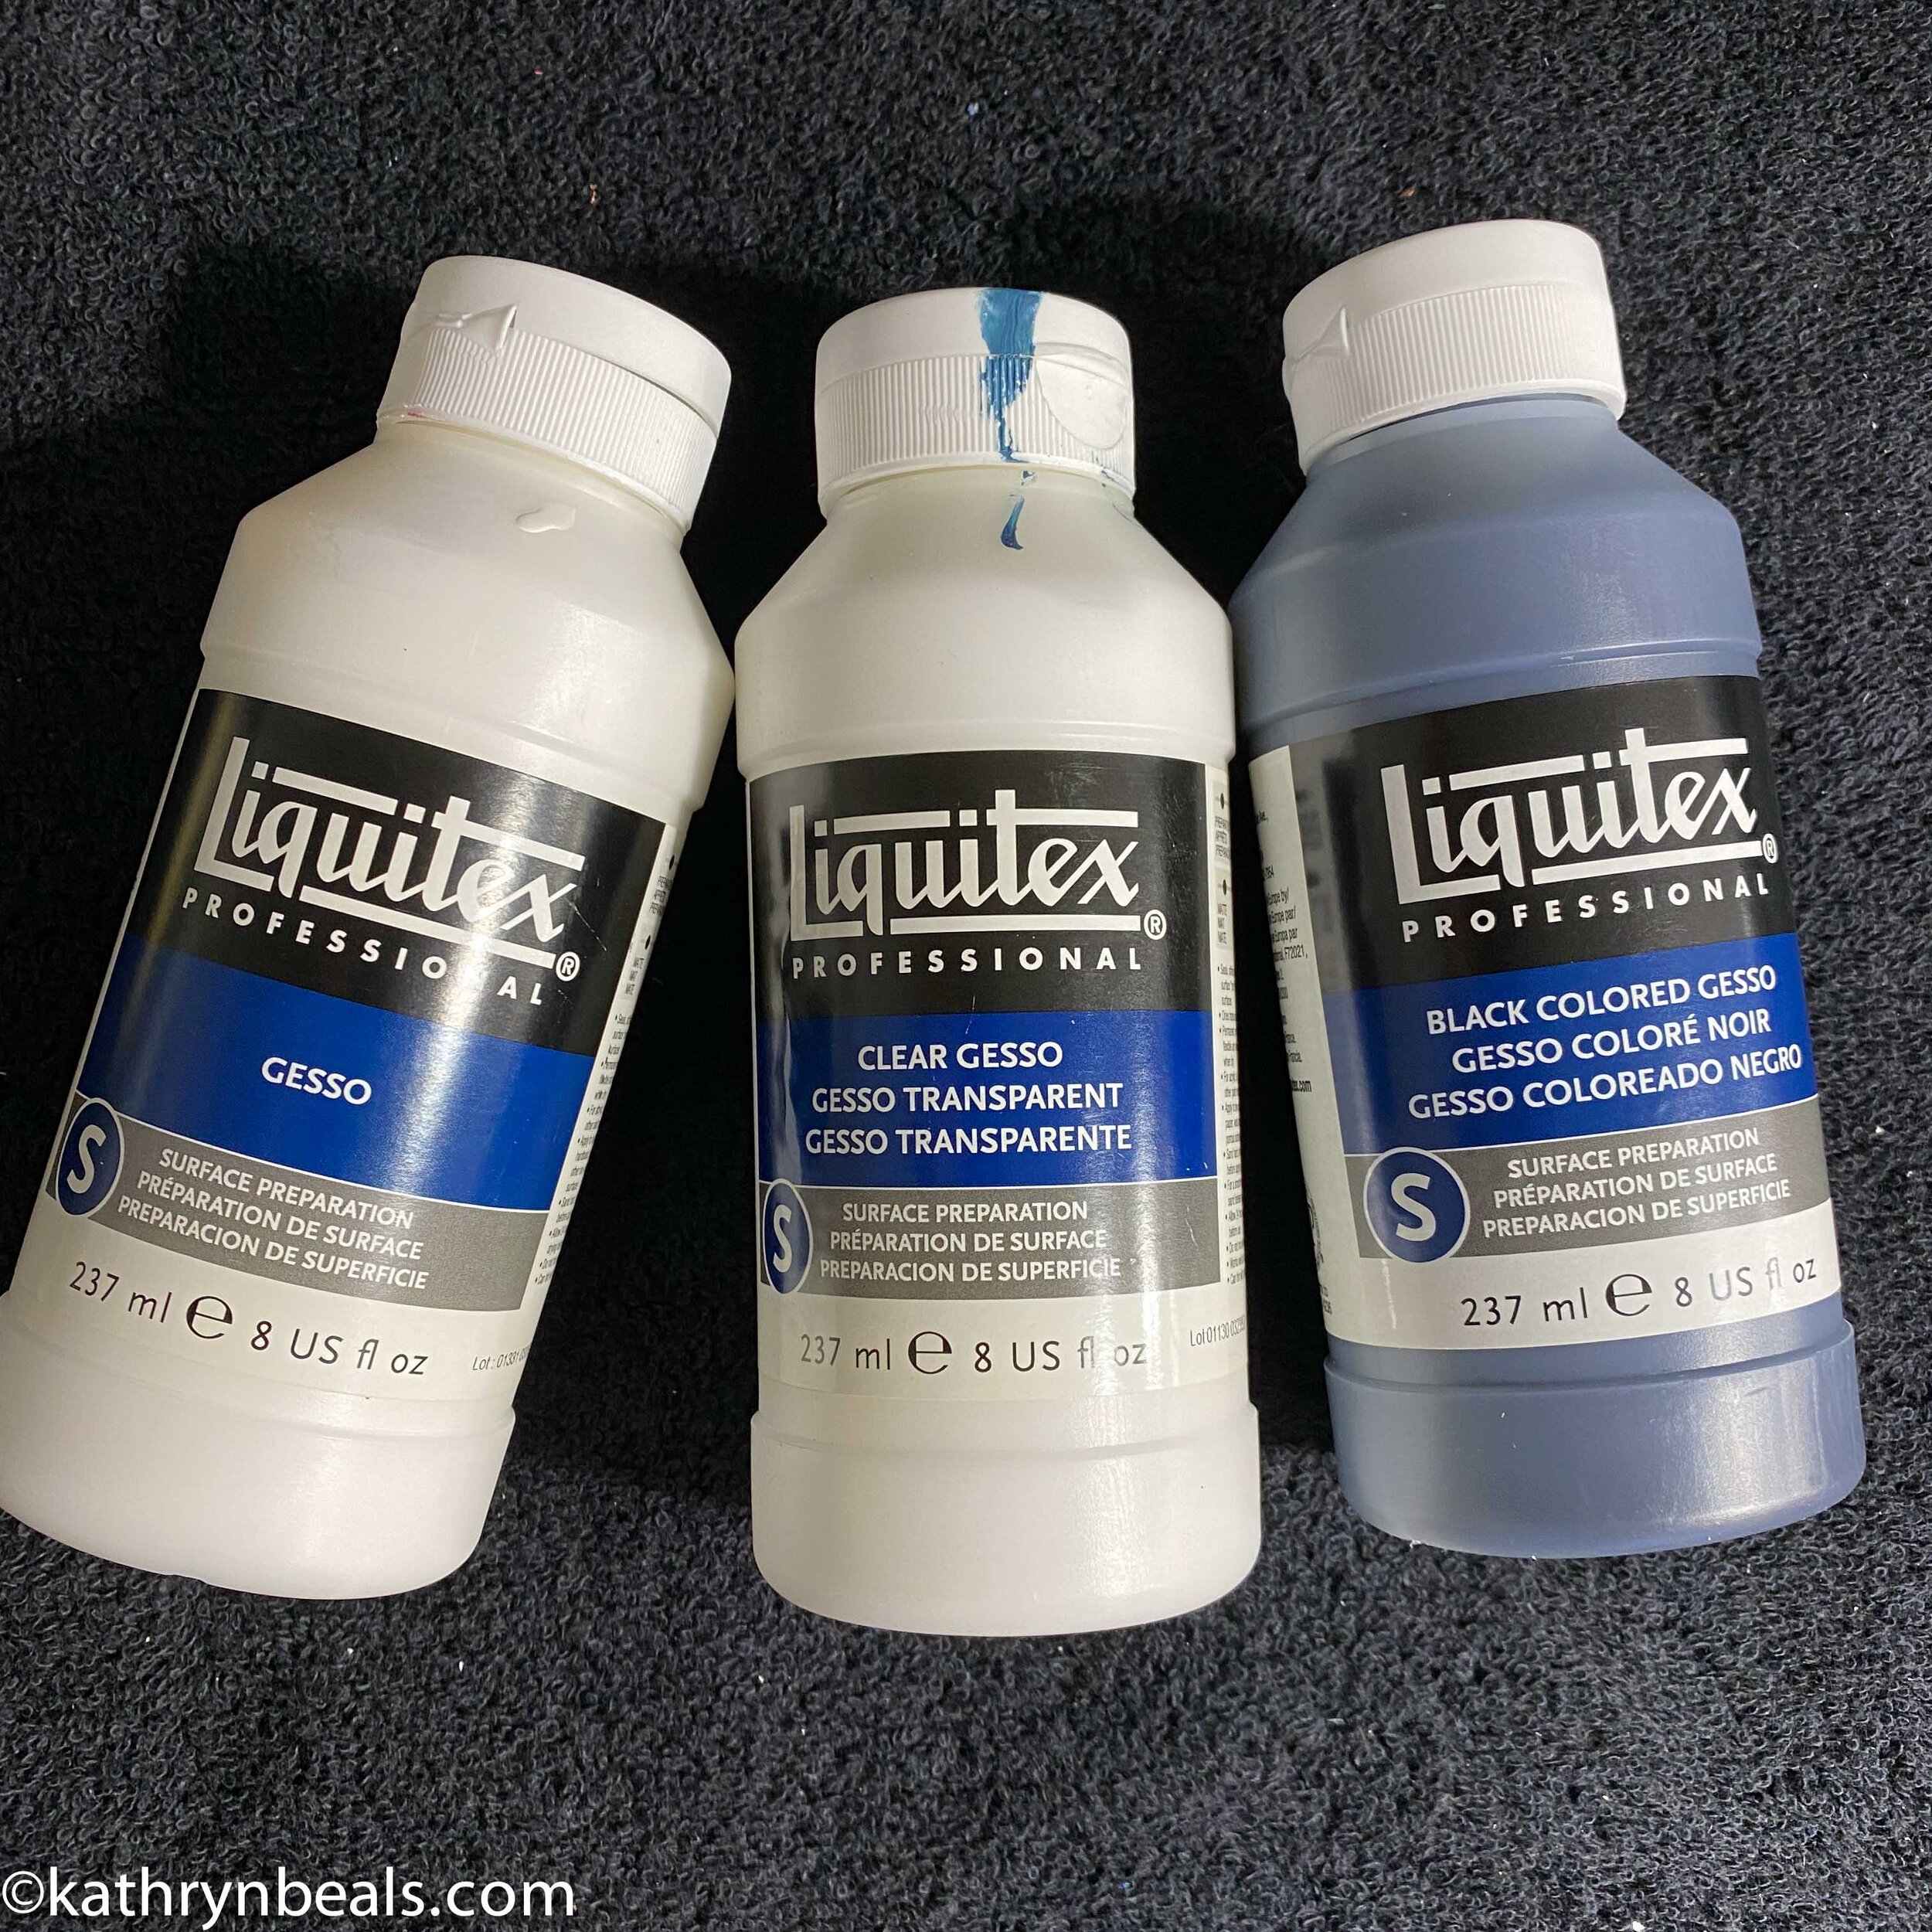
I use Liquitex gesso in various colors as a preparatory surface for paint or resin. My kids help me apply it to the canvas boards with a roller.
I use the Blick Premier canvases. I like the spline fitted back and smooth edges.
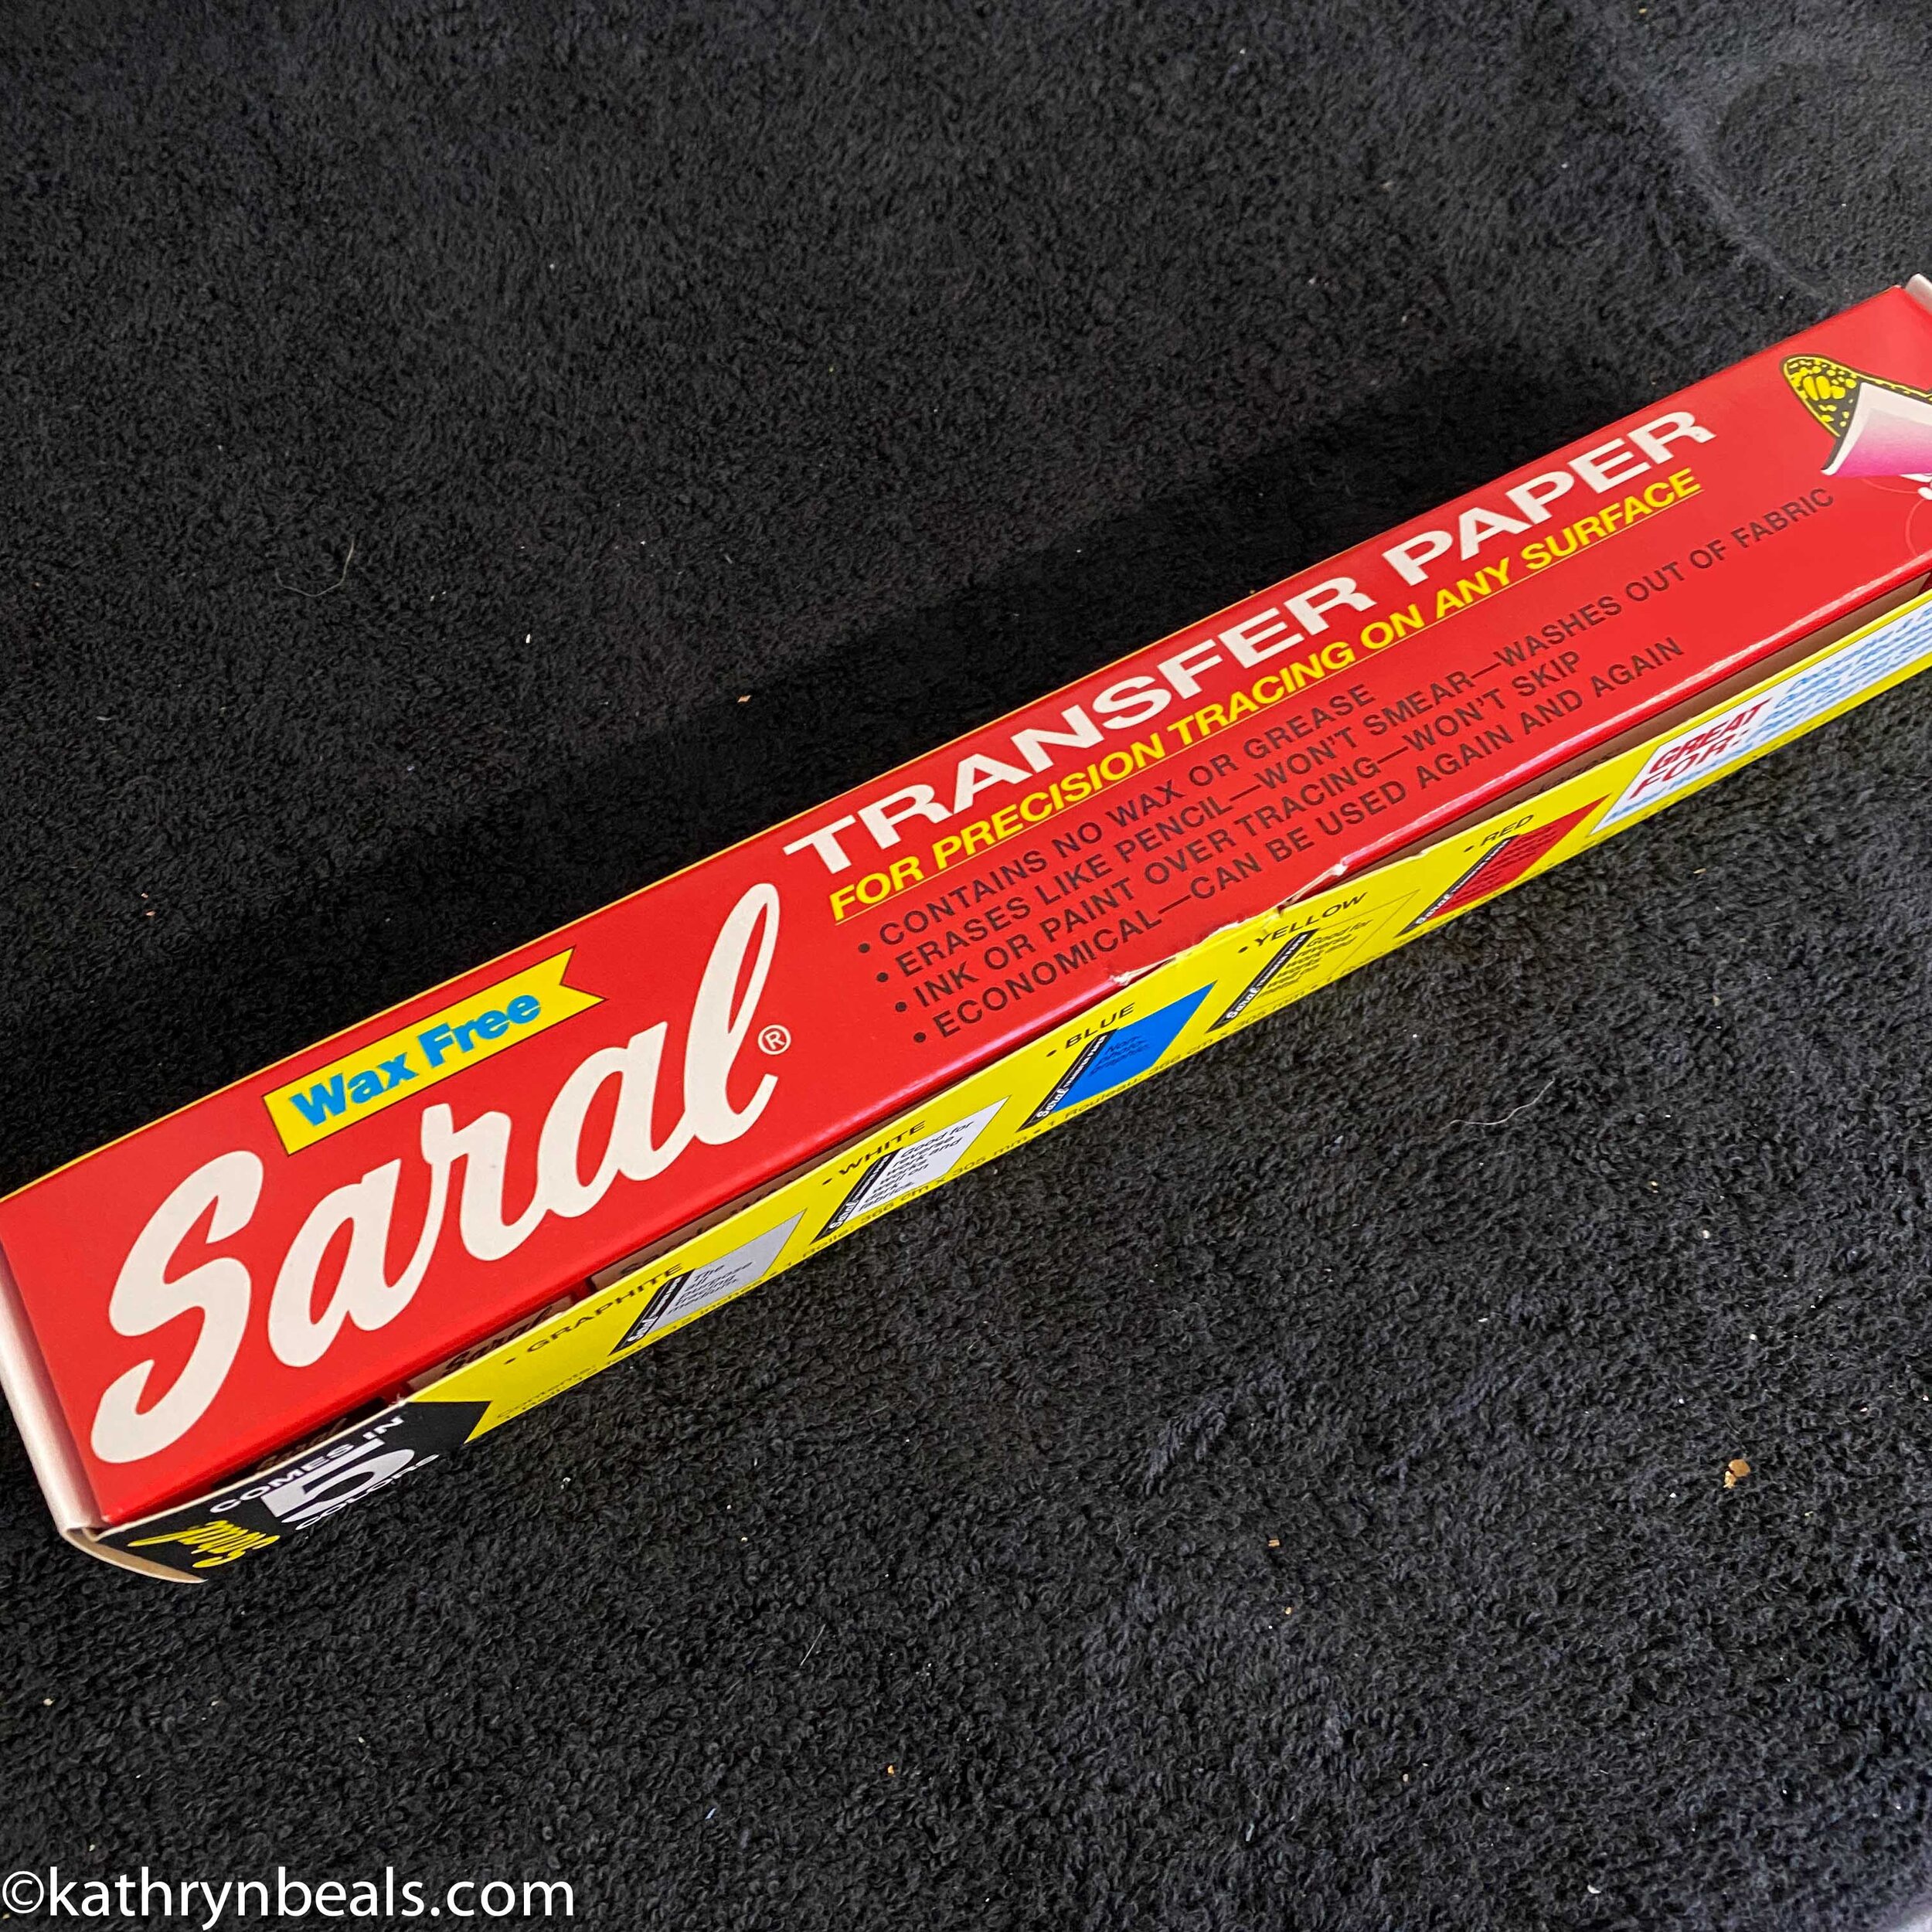
Transfer paper can be useful for transferring designs onto canvas. It also comes in white for darker backgrounds.
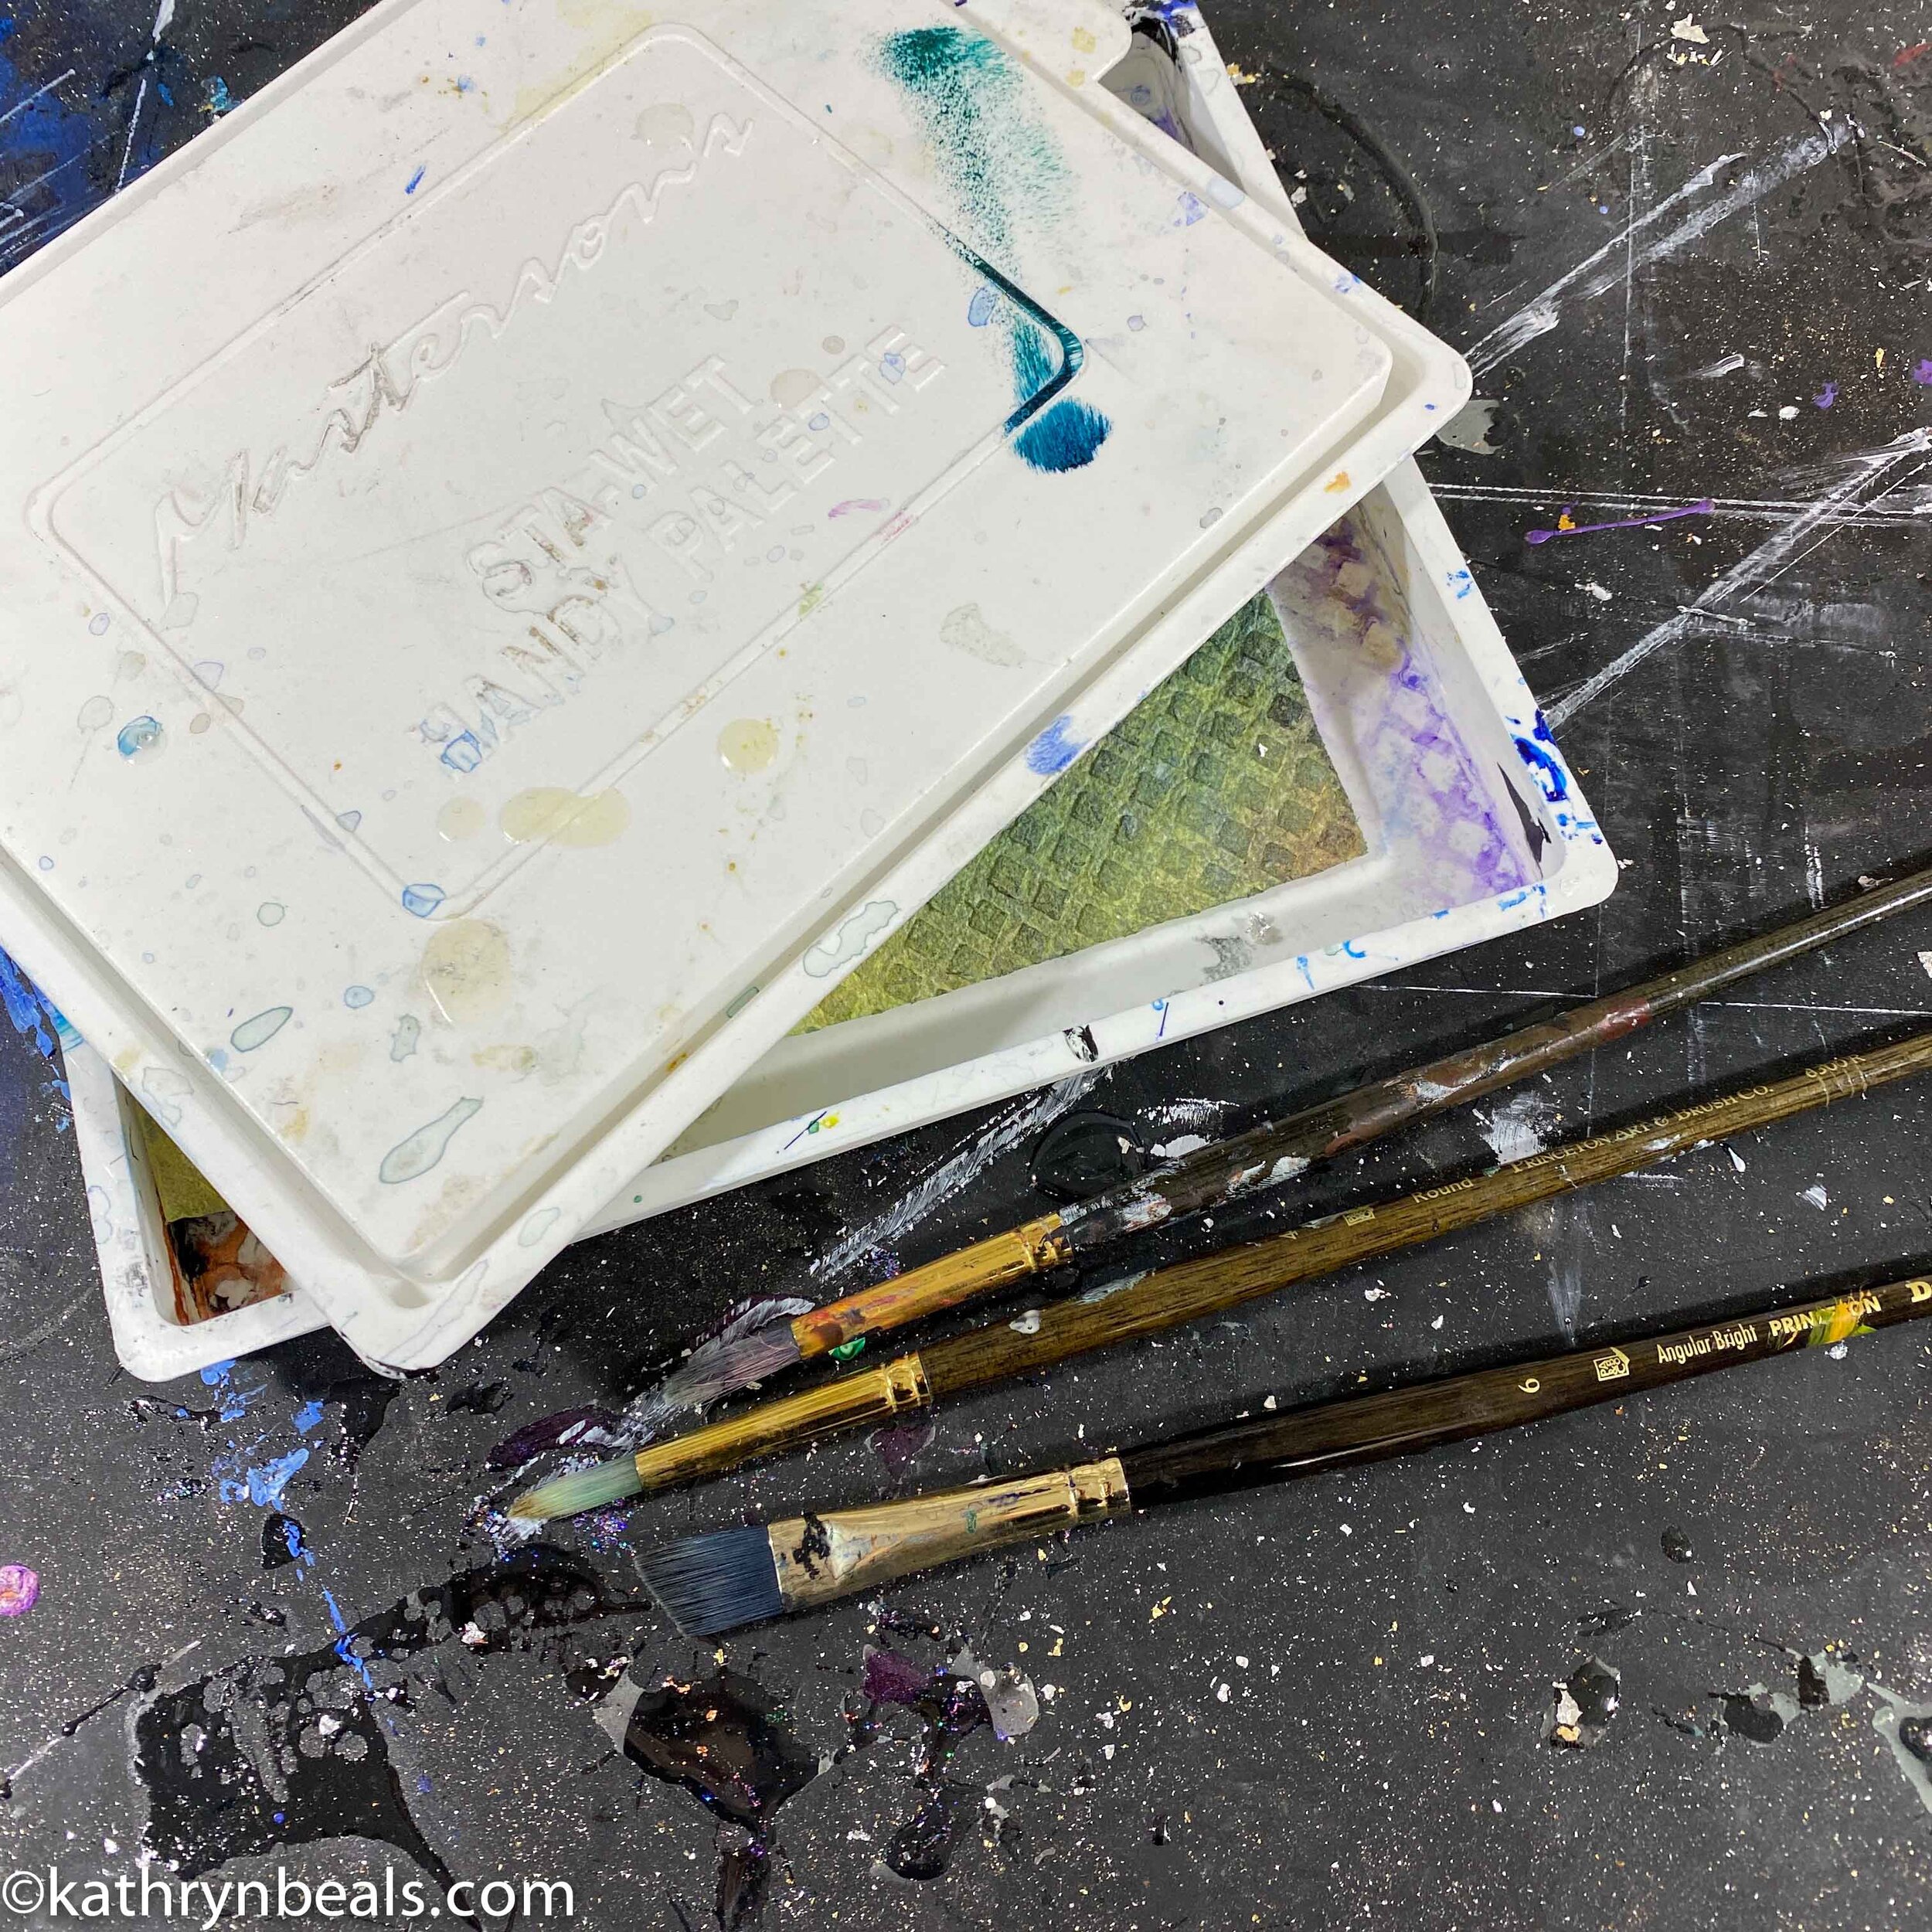
For touch ups or adding details, I love my Sta-Wet palettes. The sponge inside keeps the paint wet for several weeks and avoids wasted time and paint.
Masking tape is useful for making cleanup easier later on. You can tape the backs and/or edges of your canvas or board to protect them from drips.
Back to the main Resource Guide

