
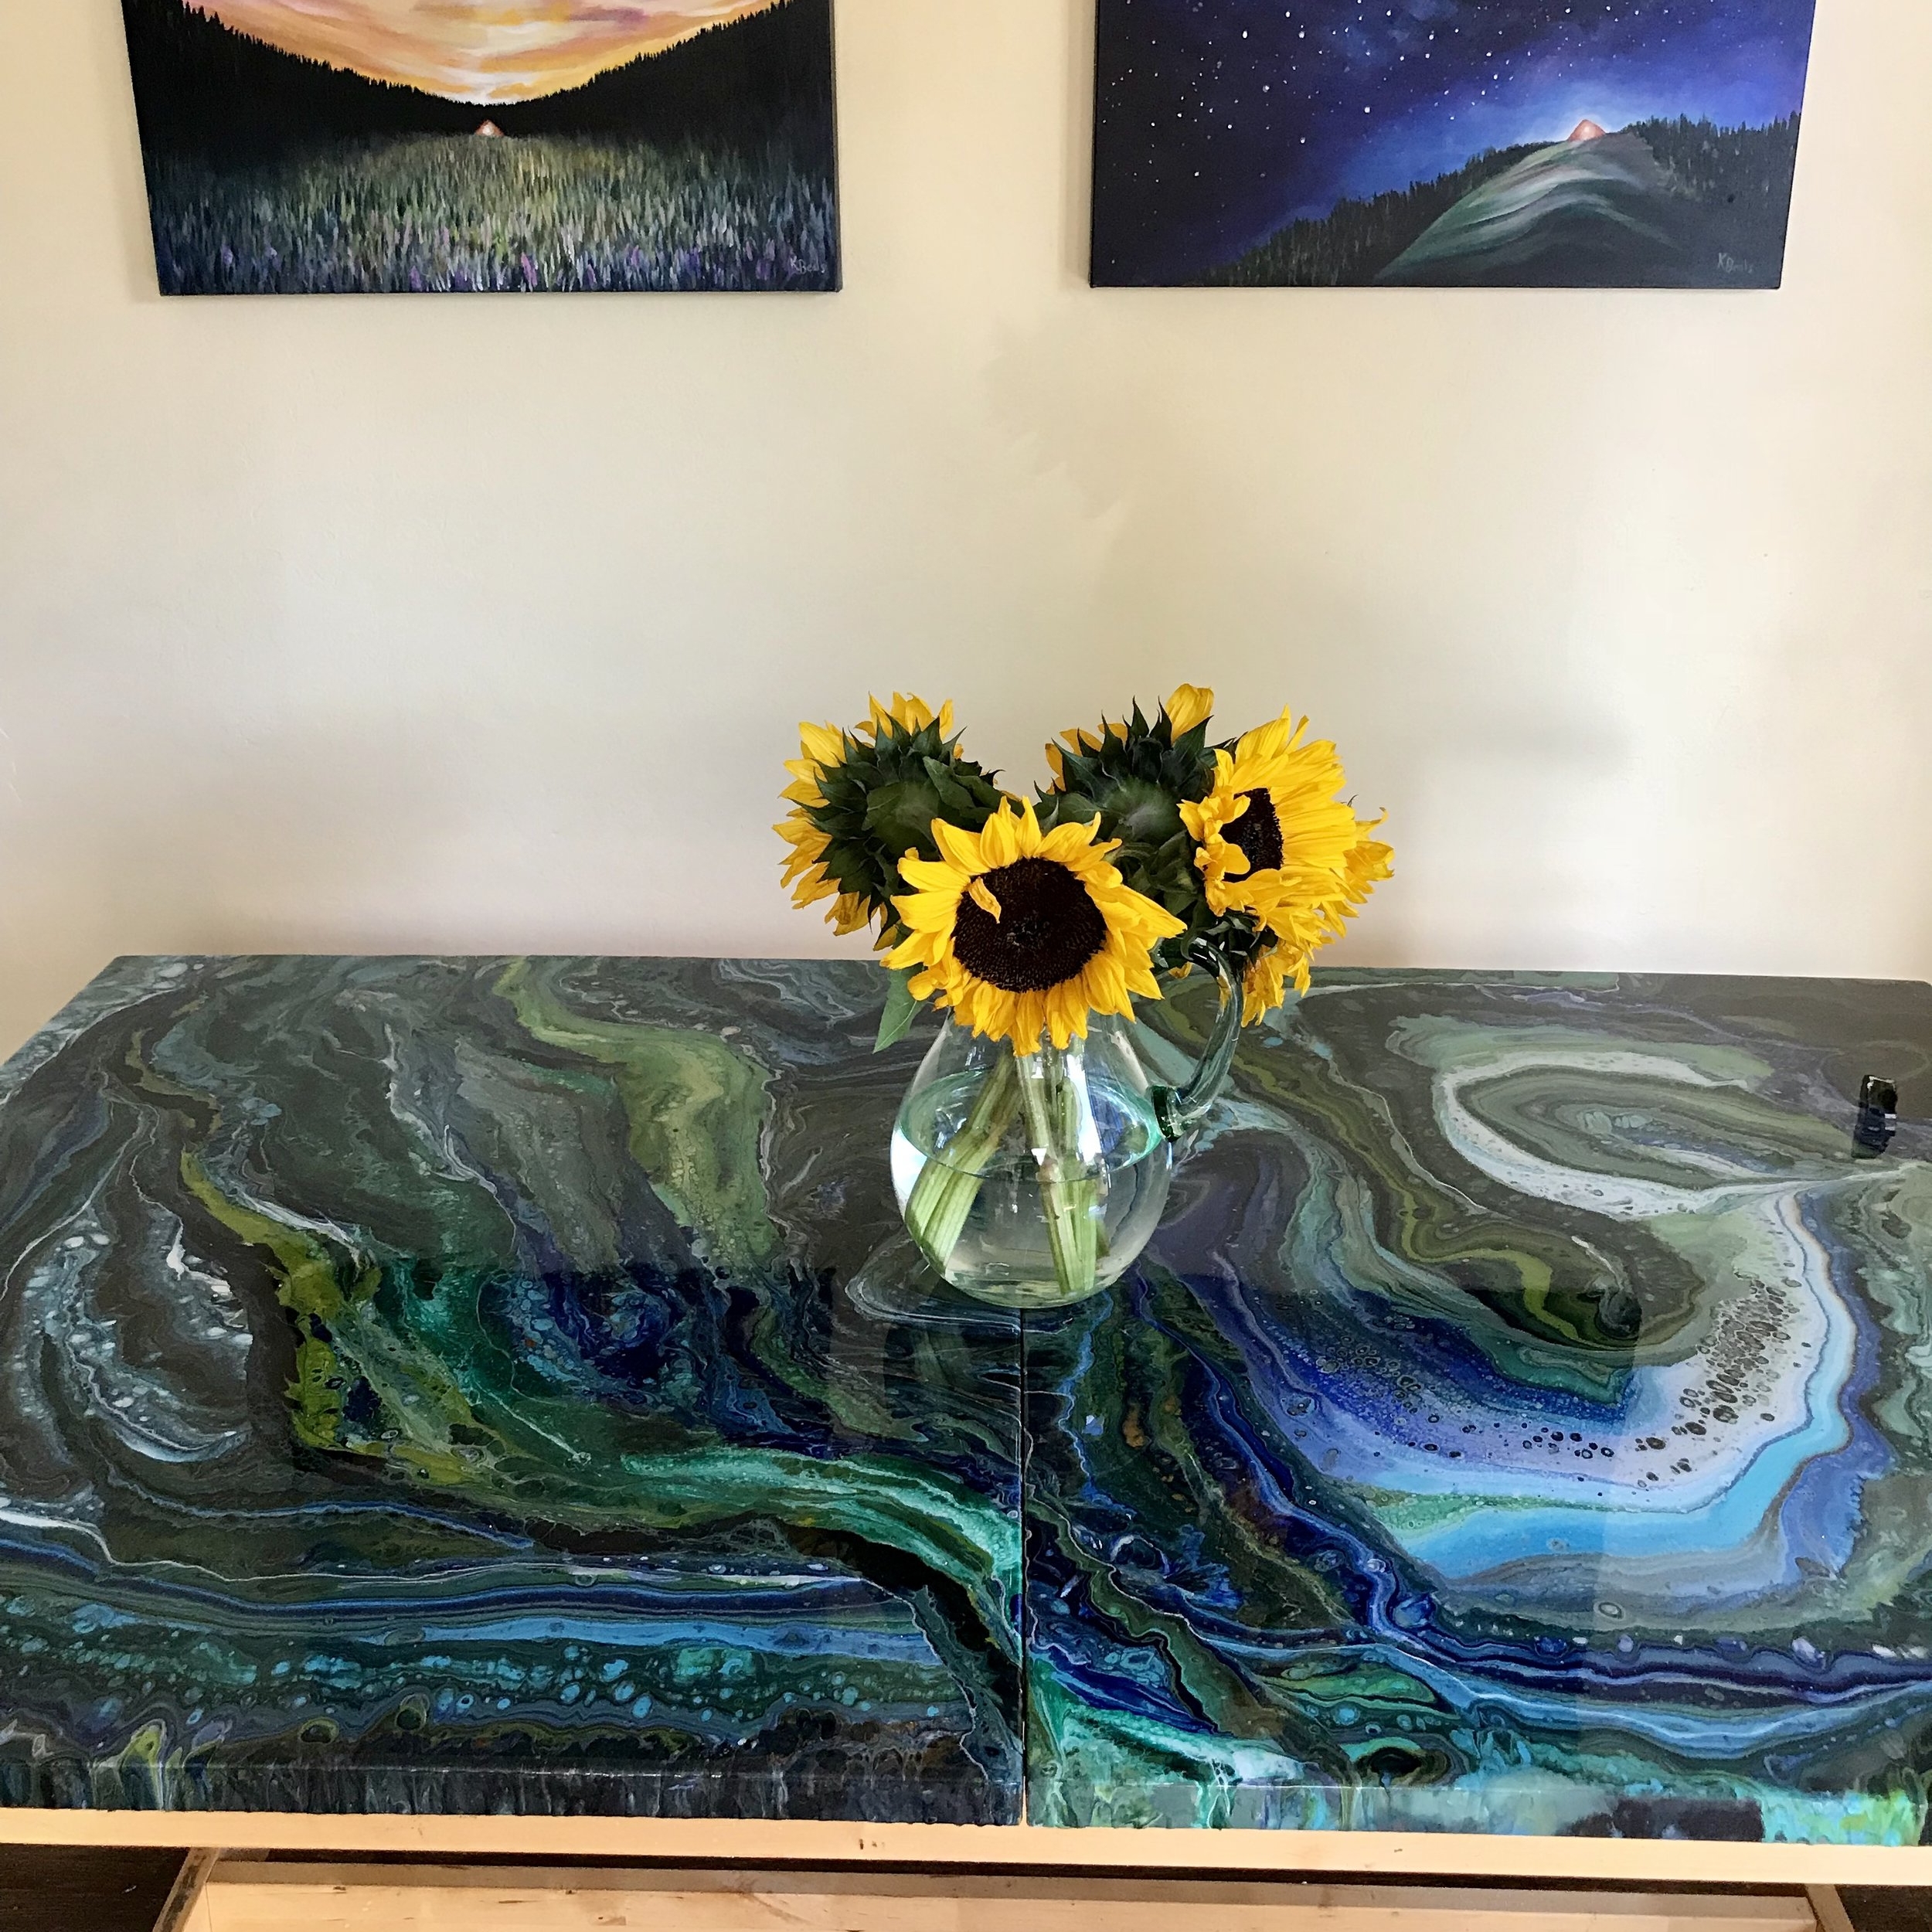
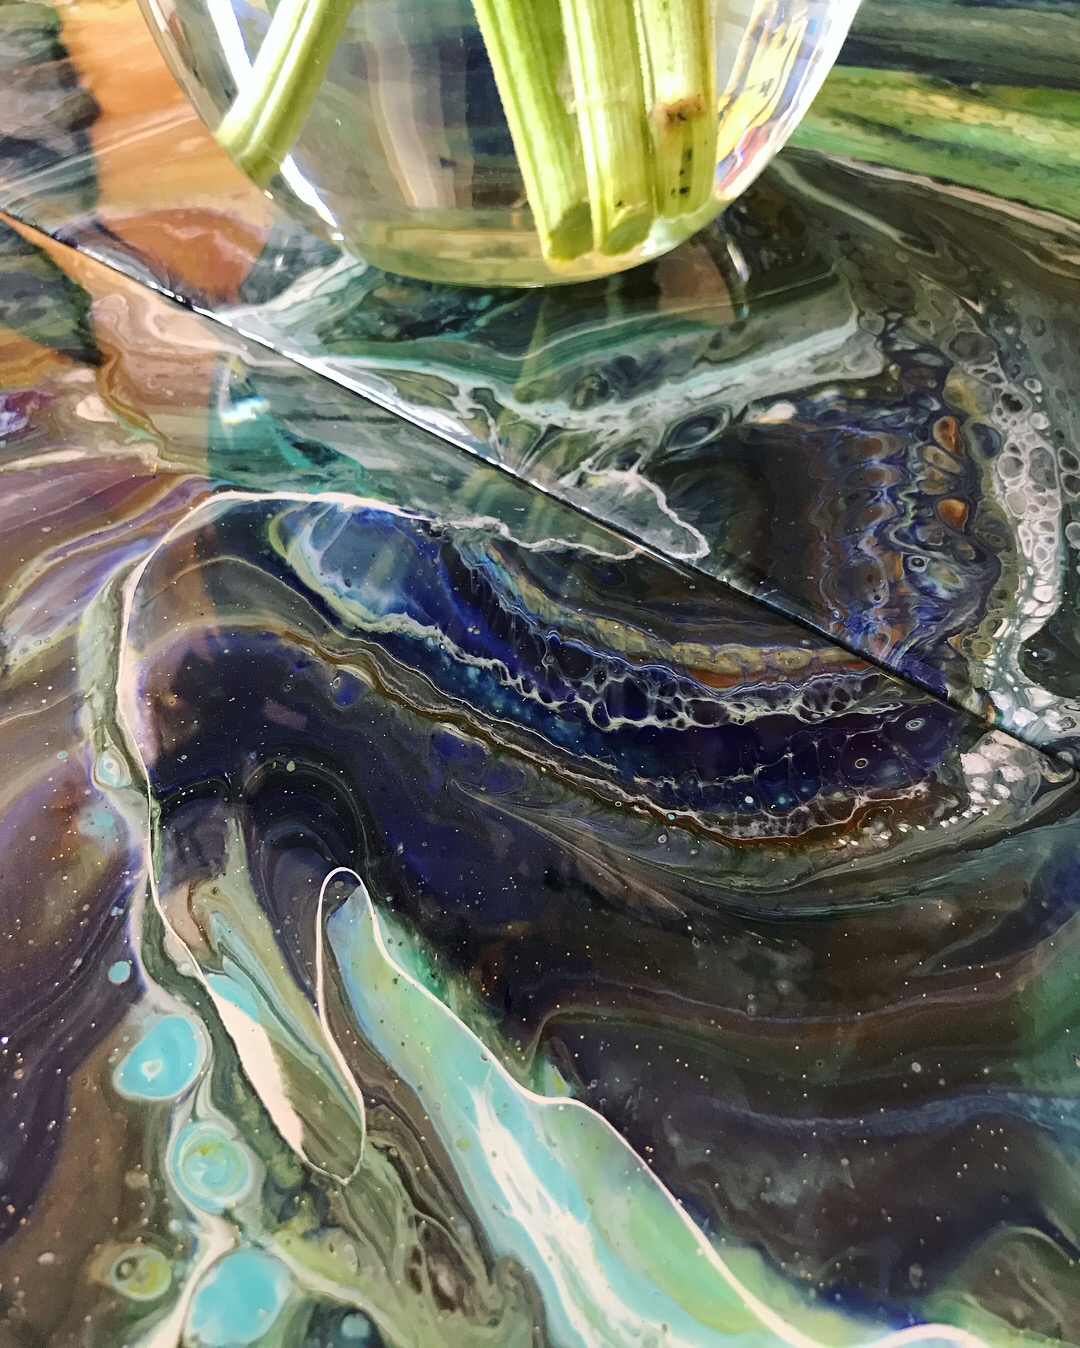
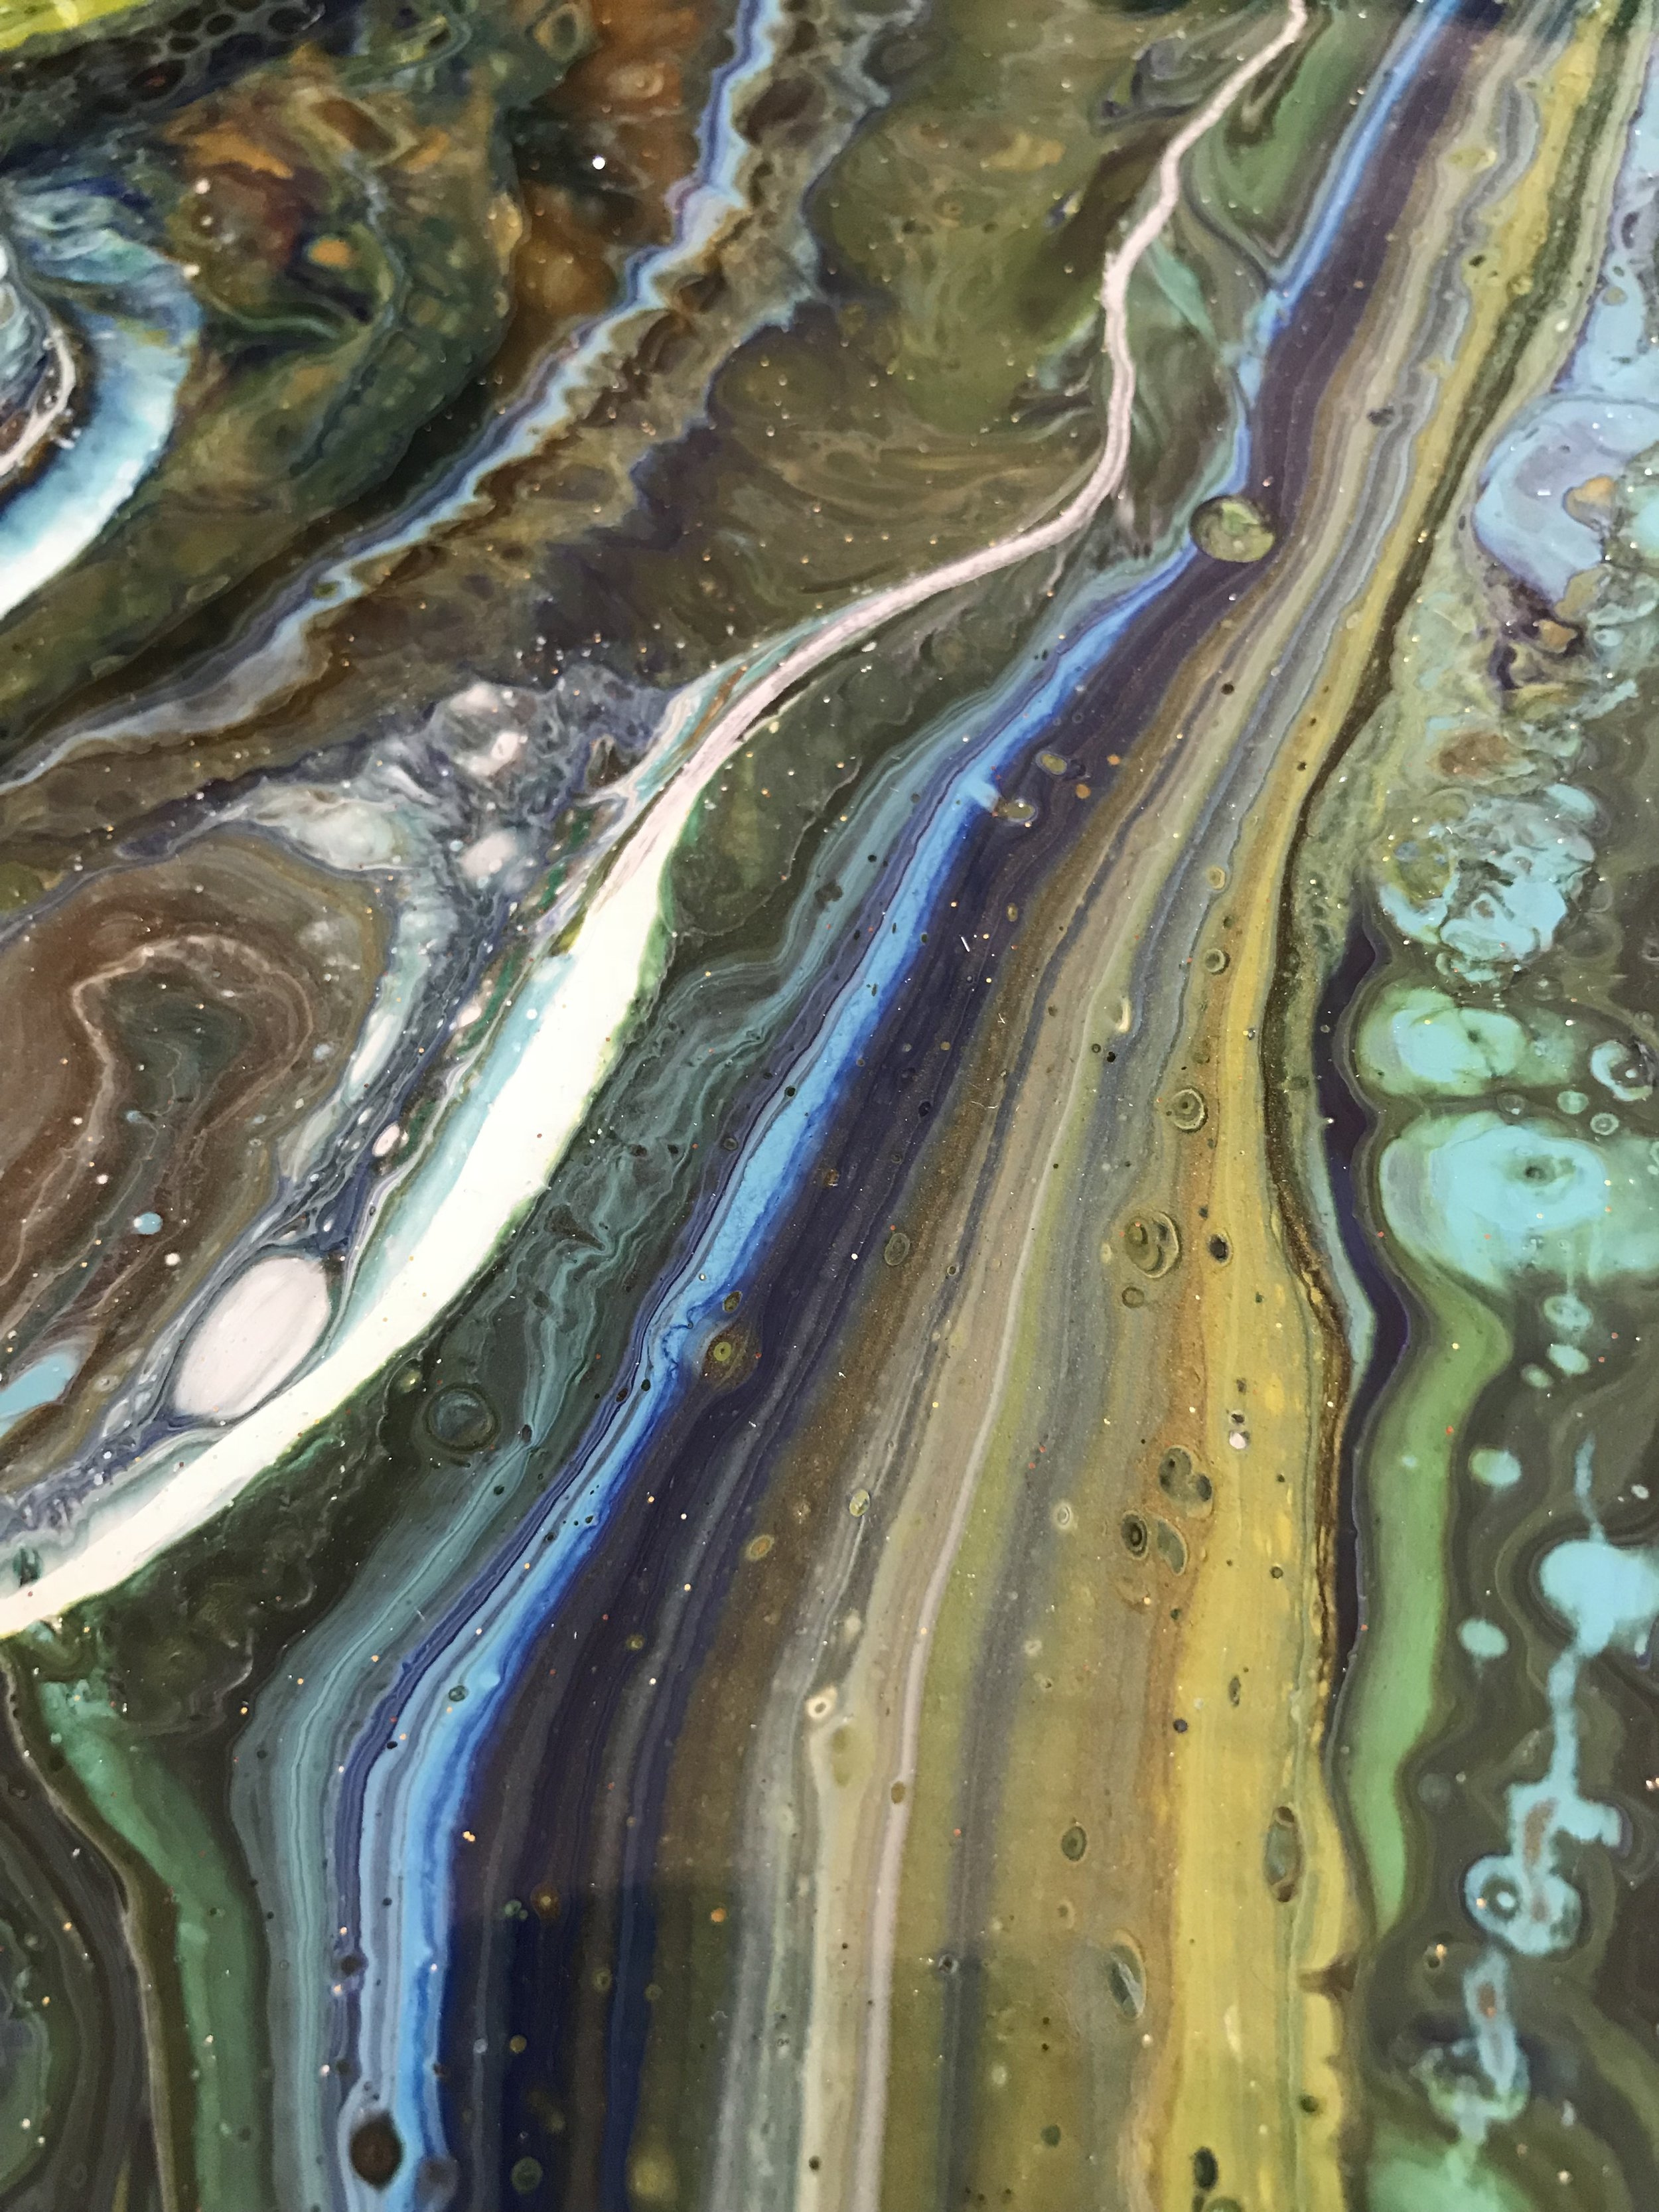
IKEA Table Refinishing Project
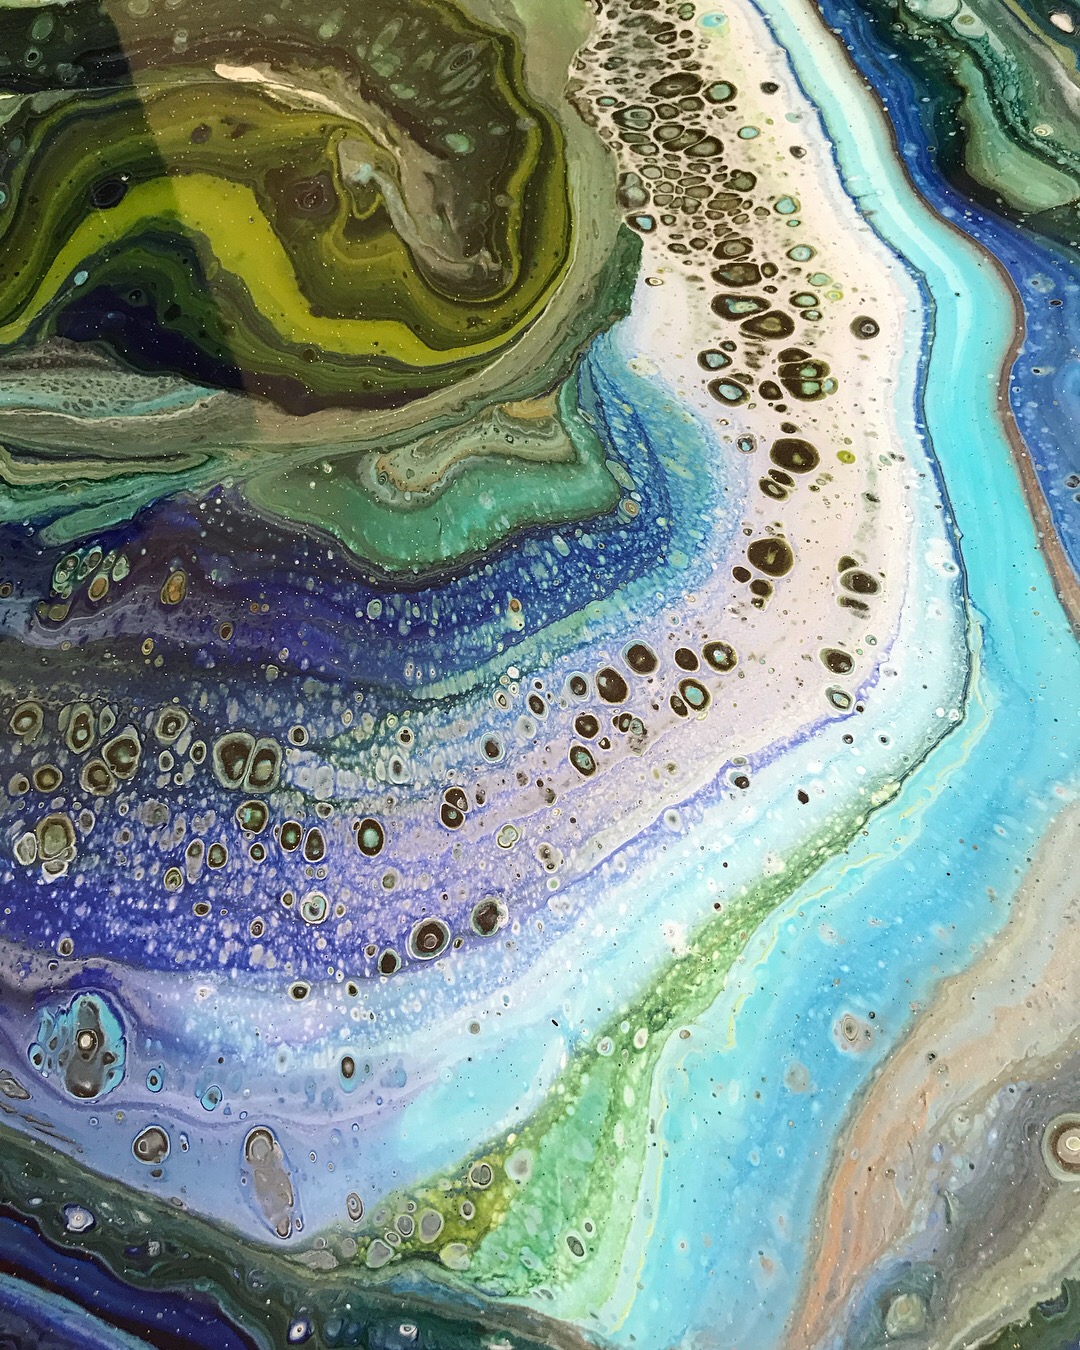
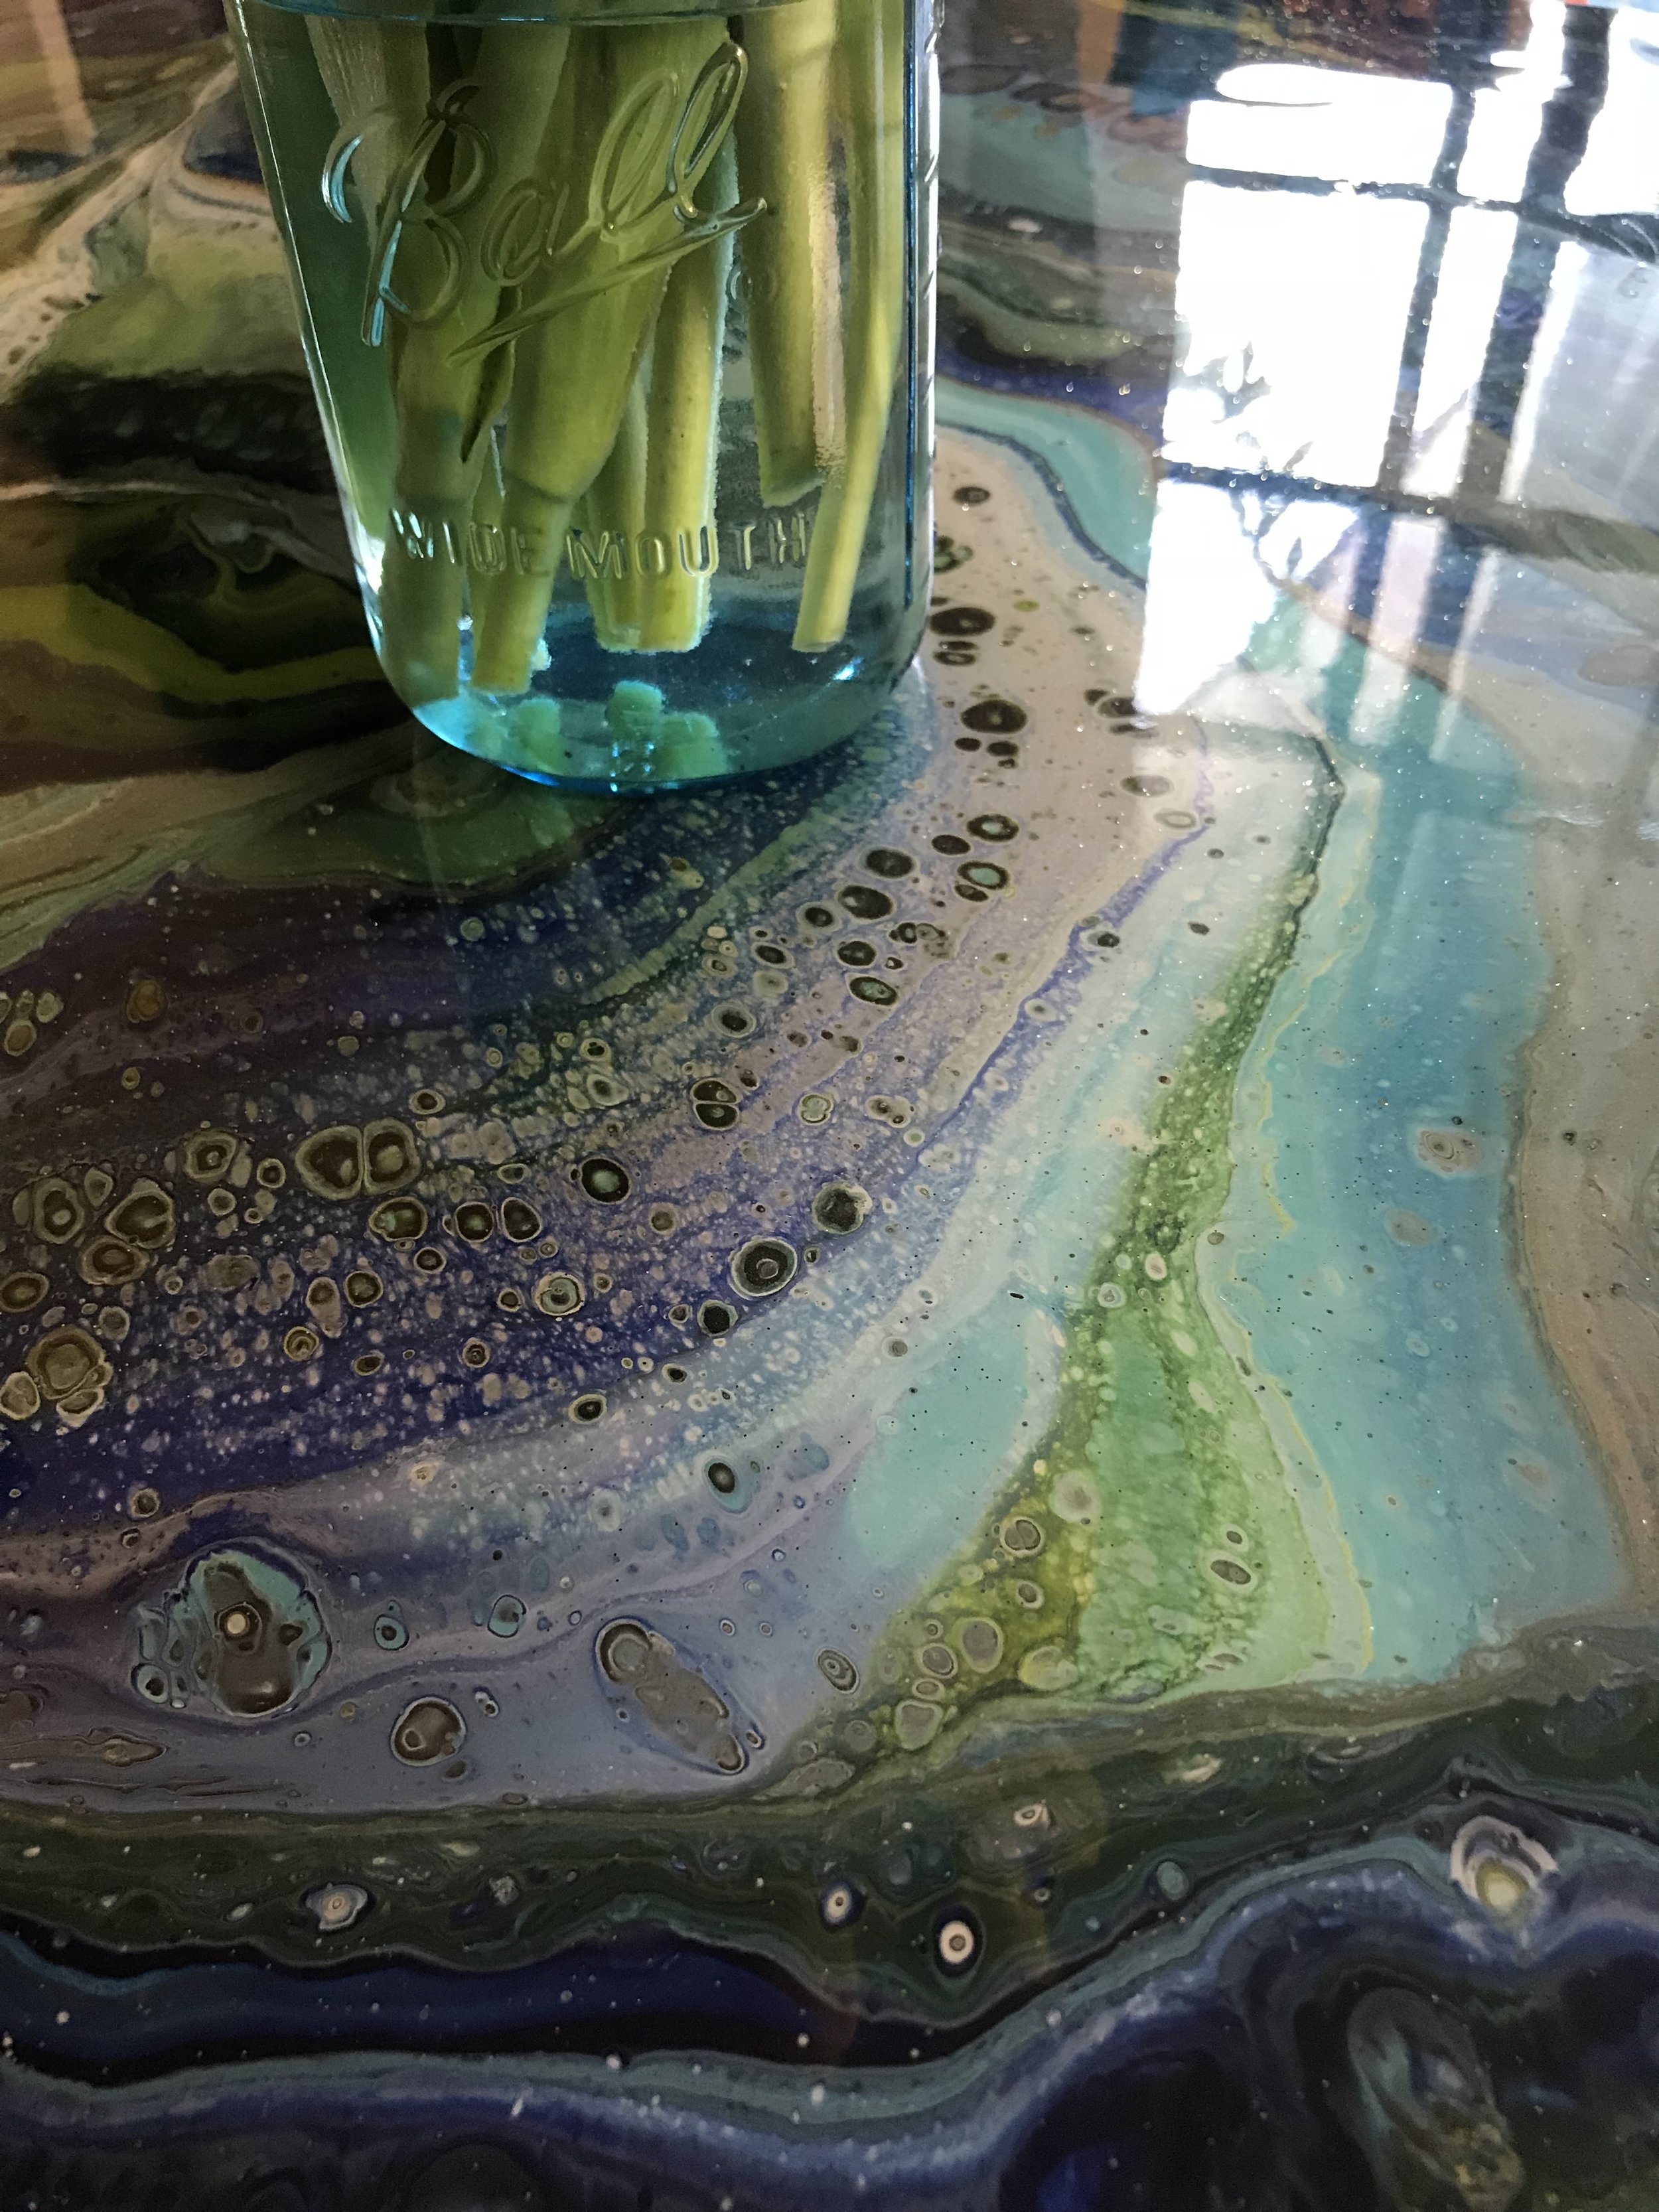
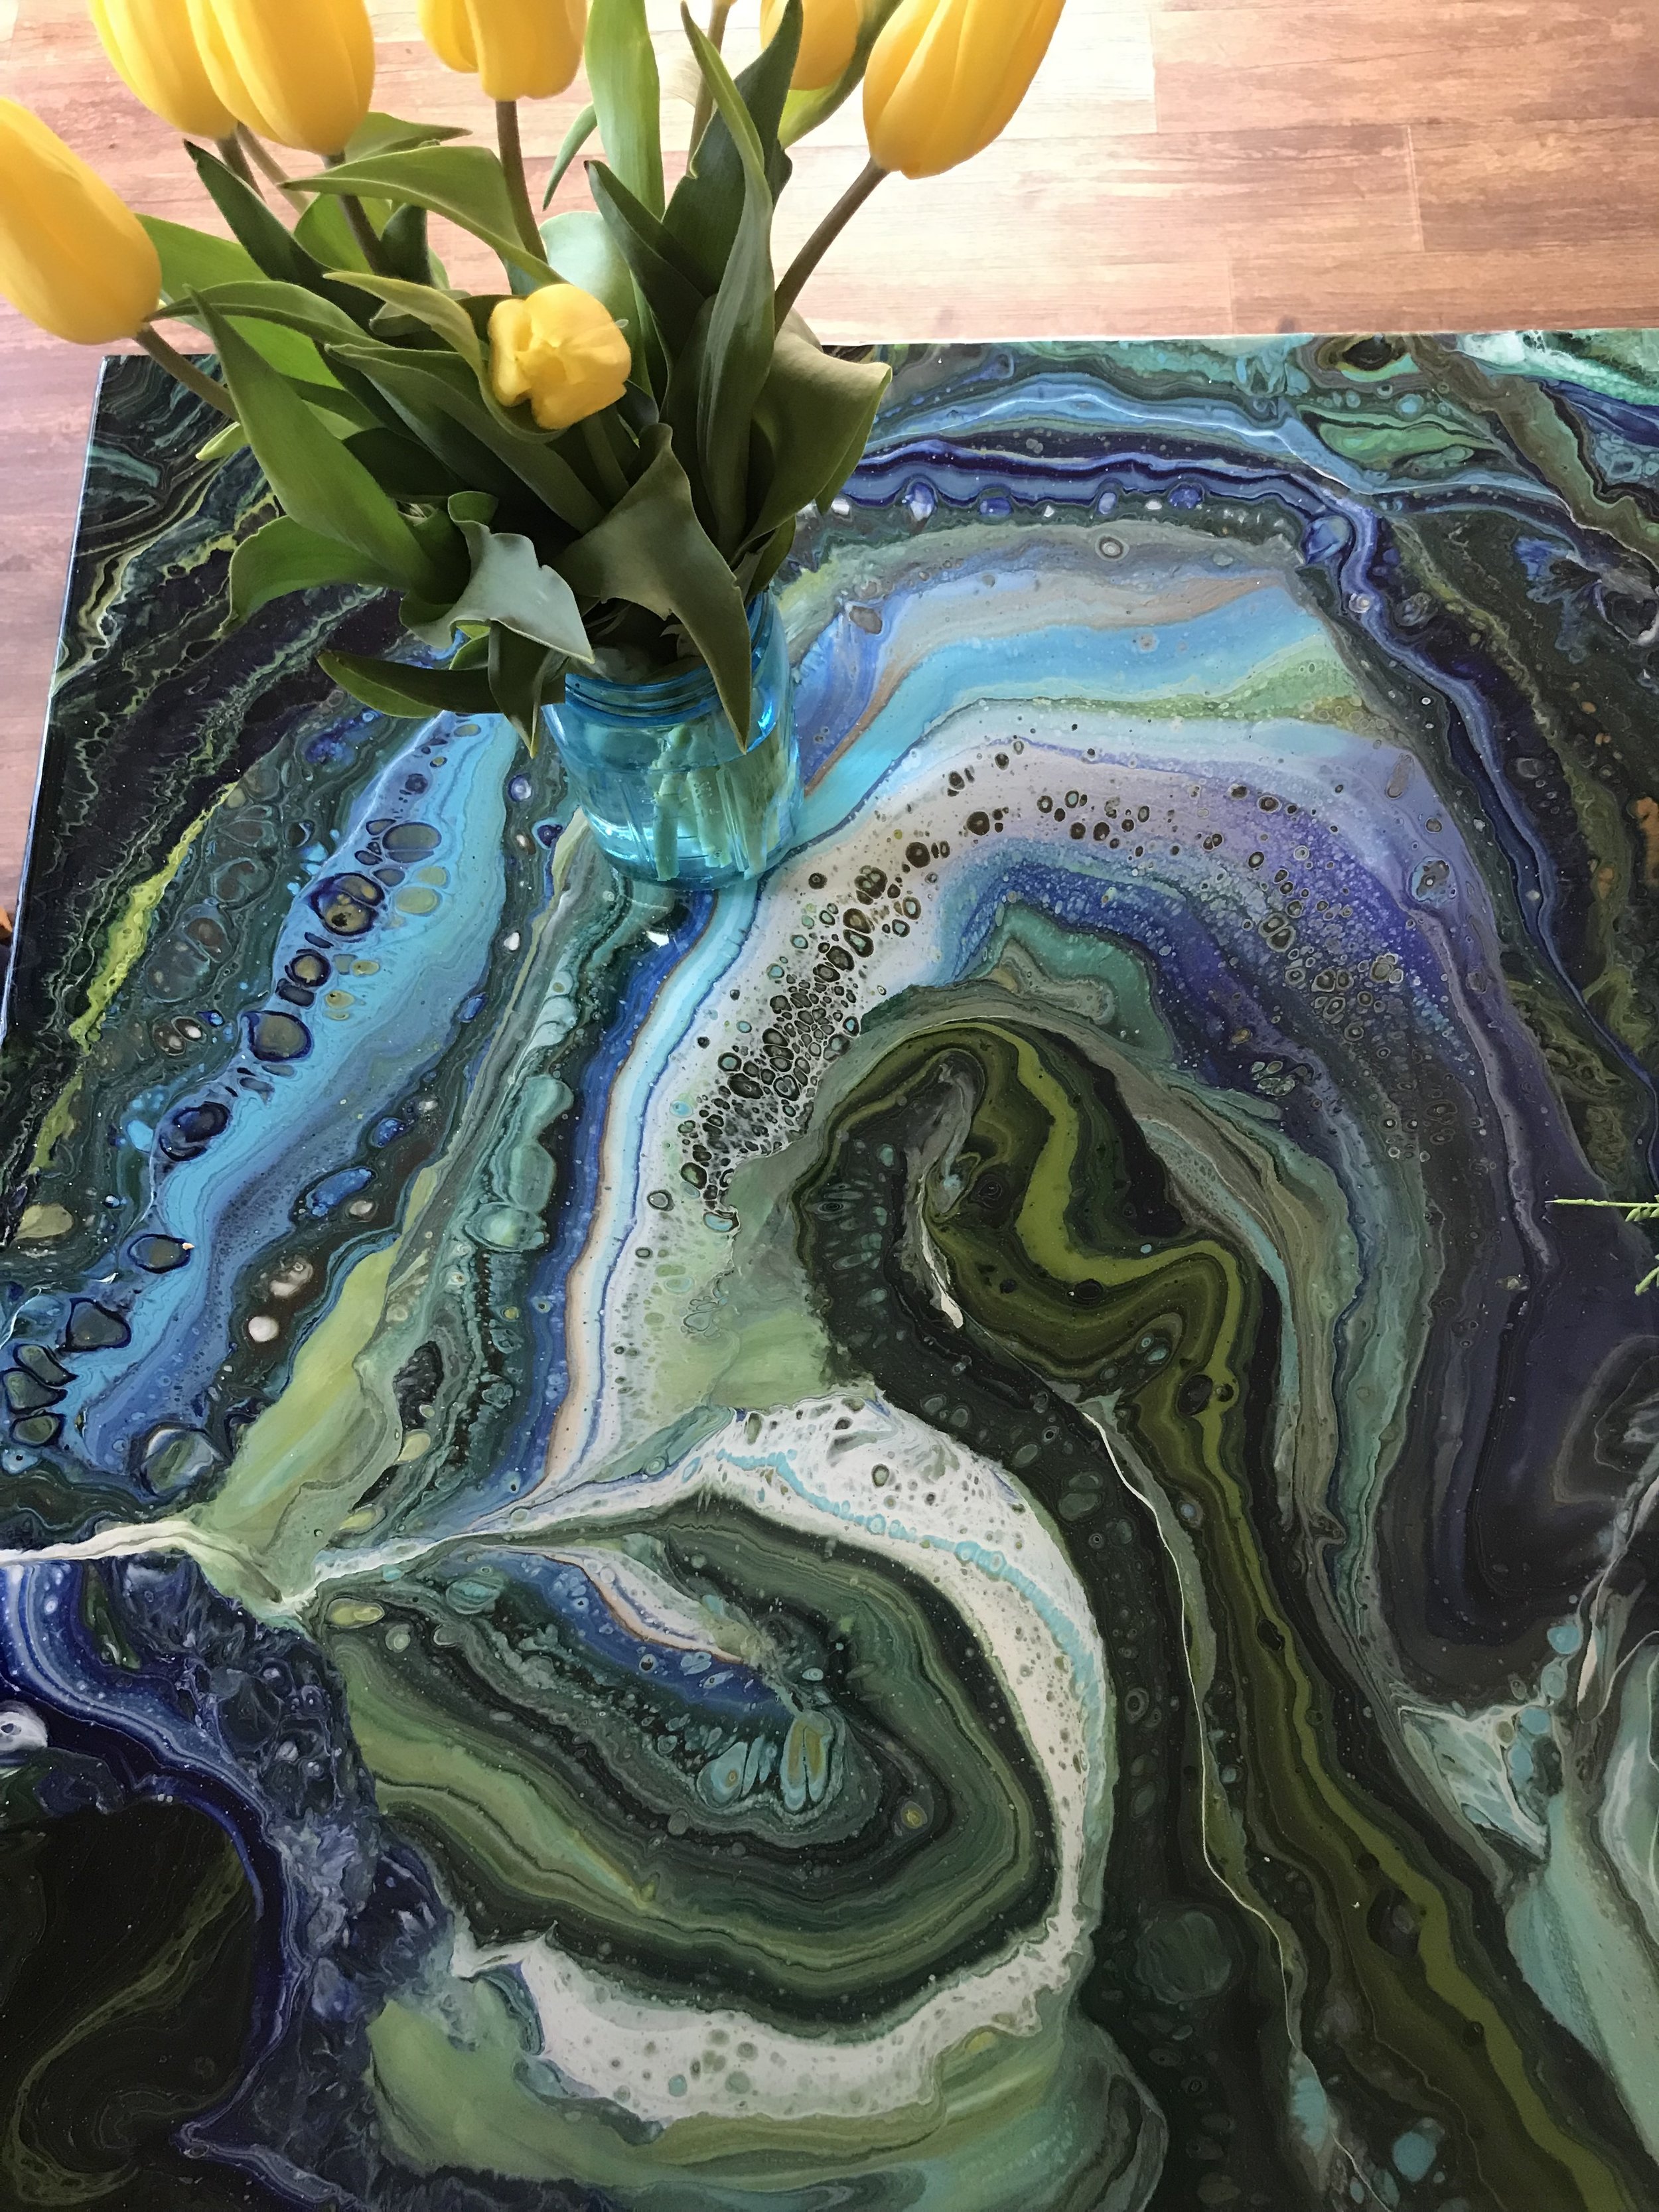
As a fun personal project, I upcycled our old IKEA table using my new acrylic pouring method, and finished it with three coats of resin. The top coat of resin contains glitter, and it really looks like brightly colored polished stone.


My Supply List and Tips
1. Paint: I use Tri Art or Golden, but you can use any kind of acrylic paint. If you’re using craft store paint, I recommend that you mix it well and strain it for clumps.
2. Pouring Media: Pouring mixes vary, but I use my own mix of Flood brand Floetrol and Liquitex Gloss Medium and Varnish. Experiment and find the right pouring mix that works for your climate.
3. Containers: You can use disposable cups and sticks to mix your colors, but for a big project like a table, I recommend using condiment squeeze bottles with a marble inside each one, to mix and dispense your individual colors easily without waste. I got mine on Amazon but you can find them in cooking supply stores also.
4. Safety and Cleanup: Gloves, masking tape, sanding sponge, big apron or coveralls, something to protect the floor and absorb drips. You’re going to make a huge mess! I recommend a PVC shower curtain since you can peel the resin drips off and reuse it. Don’t use newspaper or other non-waterproof drop cloths since the resin can soak through and glue them to your floor.
5. Food safe resin. You’ll need something to spread the resin, and a torch or heat gun to pop the bubbles and smooth it. I did three coats on this table. You’ll really want gloves for handling resin, and isopropyl alcohol for clean up. Don’t be like me and get resin in your hair. Many resins are zero VOCs but it’s still important to work in a well ventilated area, and/or use a respirator if you are sensitive.
6. Extras: I find that a Dremel tool is handy for sanding the resin drips after they dry.
7. Tips: If you have a choice of tables, I recommend not starting with one that has a removable leaf, like I did. The end results were beautiful, but it made my first project a lot more complicated since the resin kept sticking it together. Plan to not use your table or have children or pets near it for a full week - the paint takes at least two days to dry, and each coat of resin takes a day, then it needs to cure. The results are worth it though, and the tabletop is strong and shiny like glass.
Back to the Resin Page Back to the Metallic Leaf page